-
 DIY: Video master classes
-
 Aromatherapy
-
 Felting master classes
-
 Eating at home
-
 DIY cosmetics for children
-
 Cooking recipes
-
 Detergents, cleaning products with your own hands
-
 Soap making as a business
-
 Natural cosmetics. Raw materials for cosmetics and soap.
-
 Natural oils in cosmetics
-
 News
-
 Recipes for balms and conditioners
-
 Bath Bomb Recipes
-
 Cream recipes. Cream making.
-
 Lotion recipes. Gel recipes.
-
 Mask recipes
-
 Soap recipes. Base soap. Soap from scratch.
-
 Recipes for all occasions
-
 Natural shampoo recipes
-
 Healthy Nutrition Recipes
-
 Scrub recipes. Massage tiles. Ubtan
-
 DIY candles
-
 Reference materials, questions, tips
-
 Startup - soap production
-
 Hair care. Tips, recipes
-
 Facial skin care. Cleansers.
-
 Body care. Tips, recipes
-
 Photo Reviews
-
 Chocolate Handmade


Why Homemade Soap Fails and How to Fix the Problems
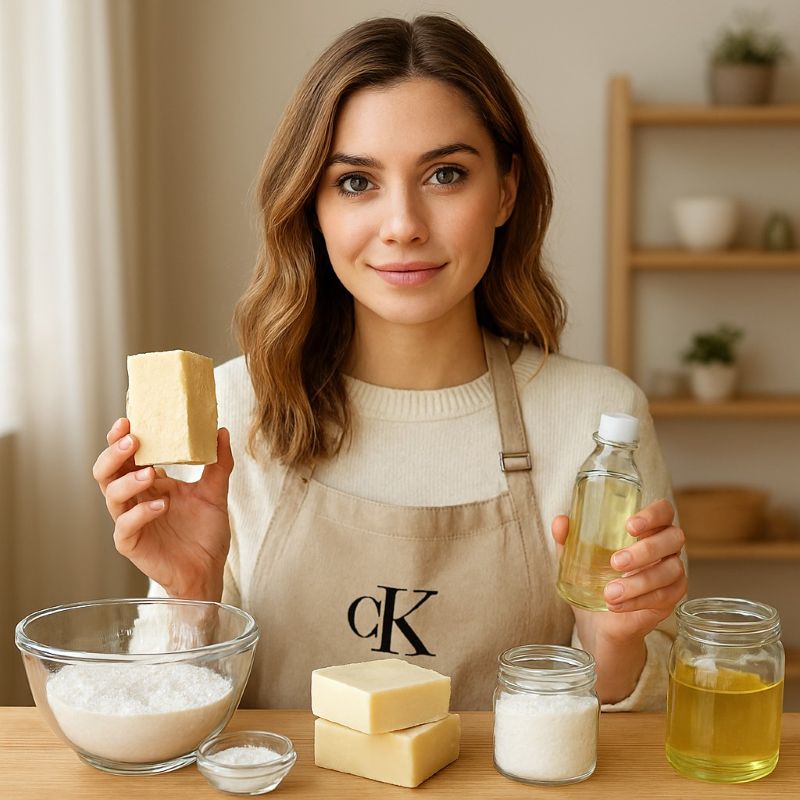 Soap making is a fascinating blend of chemistry and art that allows you to create personalized skincare products. However the path of a beginner is often accompanied by technological failures that can ruin expensive ingredients and discourage further development. Understanding the physicochemical processes that occur during the mixing of components is critical for obtaining a safe and high quality product.
This article will help you understand the most common mistakes made by beginners reveal the technical secrets of masters and provide three proven recipes with detailed instructions. You will learn how to avoid mass separation the appearance of white coating and how to properly work with aggressive substances to create soap that significantly surpasses any industrial analogues in its properties.
Major Technological Mistakes and Methods for Fixing Them
One of the most dangerous mistakes is ignoring safety rules when working with lye. Many beginners believe that goggles and gloves are optional when working with small volumes. However even a single drop of lye solution can cause a serious chemical burn. Always remember the golden rule of the soap maker add lye to water and never the other way around to avoid a violent reaction and chemical splash.
Another common problem is the inaccurate measurement of ingredients. Using kitchen measuring cups instead of precise electronic scales leads to a violation of proportions. If there is too much lye the soap will become aggressive and begin to dry the skin or even cause irritation. If there is too little the soap will remain soft and quickly go rancid due to an excess of free fats.
Temperature control errors also critically affect the result. If you mix oils and lye solution when they are too hot the soap may overheat inside the mold leading to the appearance of a gel spot or cracks. If the ingredients are too cold solid oils may begin to harden before the saponification reaction occurs causing separation or brittleness of the finished bar.
Why Homemade Soap is Better Than Store Bought
Unlike commercial analogues which are technically synthetic detergents homemade soap made using the correct technology retains natural glycerin. Glycerin is formed naturally during the saponification reaction and is a powerful humectant. Industrial manufacturers often remove it to sell separately as part of expensive creams.
By using original recipes you control the composition yourself. You can exclude aggressive foaming agents such as sodium lauryl sulfate which destroy the protective barrier of the skin. Instead you use valuable vegetable oils and natural additives that nourish the epidermis. This makes homemade soap an ideal choice for people with sensitive skin allergies or dermatitis.
Recipe 1 Basic Olive Oil Soap for Perfect Practice
This recipe is designed so that a beginner can practice the mixing technique without the risk of rapid thickening of the mass.
Ingredients 300 grams of olive oil 100 grams of coconut oil 56 grams of caustic soda 120 grams of pure water.
Step one Weigh the water in a heat resistant container and the soda in a separate dry container. Step two Slowly pour the soda into the water while stirring constantly with a plastic or steel spoon until the solution is completely dissolved. Step three Melt the coconut oil and mix it with the olive oil in a large container. Step four Wait until the temperature of both liquids equalizes and becomes approximately forty degrees Celsius. Step five Strain the lye solution through a sieve into the oils and begin mixing with a submersible blender in short pulses. Step six When the mixture reaches a light trace state pour it into the mold and leave it to mature in a dry place for four weeks.
Recipe 2 Hypoallergenic Shea Butter Soap
A mistake of beginners is often adding too much oil for superfatting which makes the soap slimy. This recipe has a balanced composition for gentle cleansing.
Ingredients 200 grams of olive oil 150 grams of shea butter 100 grams of palm oil 63 grams of caustic soda 140 grams of water.
Step one Melt the shea butter and palm oil in a water bath avoiding overheating above sixty degrees. Step two Mix the melted butters with olive oil to speed up cooling. Step three Prepare the lye solution and cool it to a comfortable warm temperature. Step four Combine the phases and beat with a blender until a clear trace appears on the surface of the mass. Step five Quickly transfer the mass into the mold because a large amount of butters promotes rapid hardening. Step six Cover the mold and leave for two days before removing and cutting into portioned bars.
Recipe 3 Cleansing Tea Tree and Charcoal Soap
A typical mistake when working with additives is uneven dissolution of powders. In this recipe we will learn how to properly introduce components.
Ingredients 200 grams of coconut oil 200 grams of olive oil 100 grams of castor oil 72 grams of soda 155 grams of water 2 teaspoons of activated charcoal 5 ml of tea tree essential oil.
Step one Mix the activated charcoal with a small amount of olive oil until a smooth paste without lumps is formed. Step two Prepare the main soap mass by mixing oils and lye solution in the standard way. Step three When the mass reaches the trace stage introduce the prepared charcoal paste. Step four Add the tea tree essential oil which has antiseptic properties. Step five Mix the mass thoroughly with a spoon so that the charcoal is distributed evenly giving the soap a rich black color. Step six Pour into the mold and maintain a maturation period of at least five weeks for complete lye neutralization.
Recommendations for Use and Proper Storage
Handmade soap requires special storage conditions due to the high content of natural glycerin and free oils.
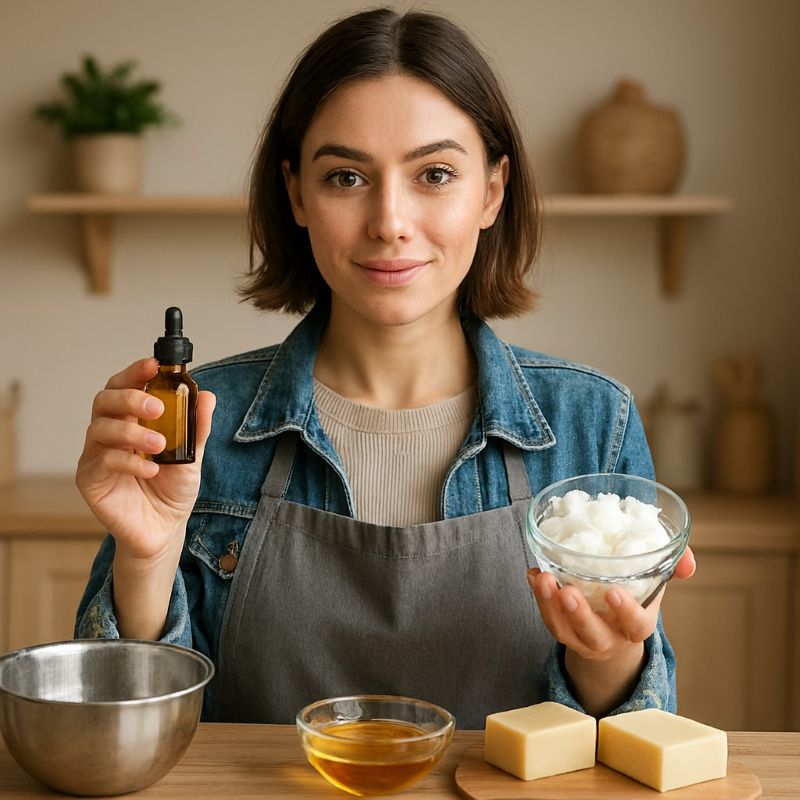
Never store freshly made soap in the refrigerator or in airtight plastic containers. The maturation process is a chemical reaction that requires access to air for the evaporation of residual water. The best place for maturation is a wooden shelf or a cardboard box in a dark cool room.
When using soap it is important to avoid its long stay in water. Use a soap dish with holes for water drainage. Natural soap without synthetic hardeners easily softens and turns into mush if it remains in moisture. By letting the bar dry out between uses you extend its service life by half.
If you notice a white fluffy coating on the surface of the soap do not be alarmed. This is soda ash which forms when free lye contacts carbon dioxide in the air. It is not dangerous but worsens the appearance. It can be easily washed off with water or cut off with a knife. To prevent the appearance of ash spray fresh soap in the mold with alcohol and cover with film to limit air access in the first twenty four hours.
Conclusion on Benefits and Safety
Natural soap of your own preparation is not only a hygiene product but also a powerful tool for maintaining skin health. By avoiding basic mistakes at the preparation stage you get a premium quality product at a mass market price. Each bar created by your hands contains only those ingredients that you have chosen yourself which guarantees the complete absence of hidden chemicals and toxins. Following the proportions temperature conditions and storage rules will make your soap a favorite care ritual for the whole family.


Cosmetic ingredients and professional formulation blog
This section features expert materials on modern cosmetic actives. We cover peptides, polynucleotides PDRN, different forms of hyaluronic acid, retinoids, ceramides and other key components.
Special focus is given to active stability, ingredient compatibility and correct incorporation into formulas. You will find practical guides on working with anti-age actives, moisturizing complexes and barrier repair ingredients.
We examine how to properly combine myorelaxants with peptides, common mistakes when using unstable vitamin C forms and ways to improve the performance of moisturizing actives.
Separate materials are dedicated to base oils, extracts, emulsifiers and supporting ingredients. This helps create stable and effective formulas for both professional and home cosmetics.
The blog regularly publishes reviews of trending actives, comparisons of similar ingredients and step-by-step formulation recommendations. The content is aimed at formulators, technologists and anyone seriously involved in creating cosmetic products.
Why this blog is useful
Here you will find practical data on eye area care actives, lifting systems and ingredients that improve skin firmness and tone. We rely on real formulation experience and address the actual challenges that arise during product development.
You can also explore materials on skin protection and repair, depigmentation and anti-inflammatory actives. This approach supports a more systematic selection of ingredients.
FAQ
What topics are covered most often
The blog focuses on peptides, PDRN, hyaluronic acid of different molecular weights, retinoids, ceramides and their compatibility rules.
Are there practical recommendations on how to incorporate actives
Yes, most articles include practical notes on pH stability, incorporation temperature and common formulation mistakes.
Is the content only for professionals
The materials are useful both for formulators and technologists and for those who create cosmetics for personal use and want to understand how modern ingredients work.
Where can I go directly to the ingredients
All key actives are collected in the Actives section, while base components are available in base oils and related categories.



