-
 DIY: Video master classes
-
 Aromatherapy
-
 Felting master classes
-
 Eating at home
-
 DIY cosmetics for children
-
 Cooking recipes
-
 Detergents, cleaning products with your own hands
-
 Soap making as a business
-
 Natural cosmetics. Raw materials for cosmetics and soap.
-
 Natural oils in cosmetics
-
 News
-
 Recipes for balms and conditioners
-
 Bath Bomb Recipes
-
 Cream recipes. Cream making.
-
 Lotion recipes. Gel recipes.
-
 Mask recipes
-
 Soap recipes. Base soap. Soap from scratch.
-
 Recipes for all occasions
-
 Natural shampoo recipes
-
 Healthy Nutrition Recipes
-
 Scrub recipes. Massage tiles. Ubtan
-
 DIY candles
-
 Reference materials, questions, tips
-
 Startup - soap production
-
 Hair care. Tips, recipes
-
 Facial skin care. Cleansers.
-
 Body care. Tips, recipes
-
 Photo Reviews
-
 Chocolate Handmade


Mistakes in candle making: Why do sinks crack and leak and how to fix them?
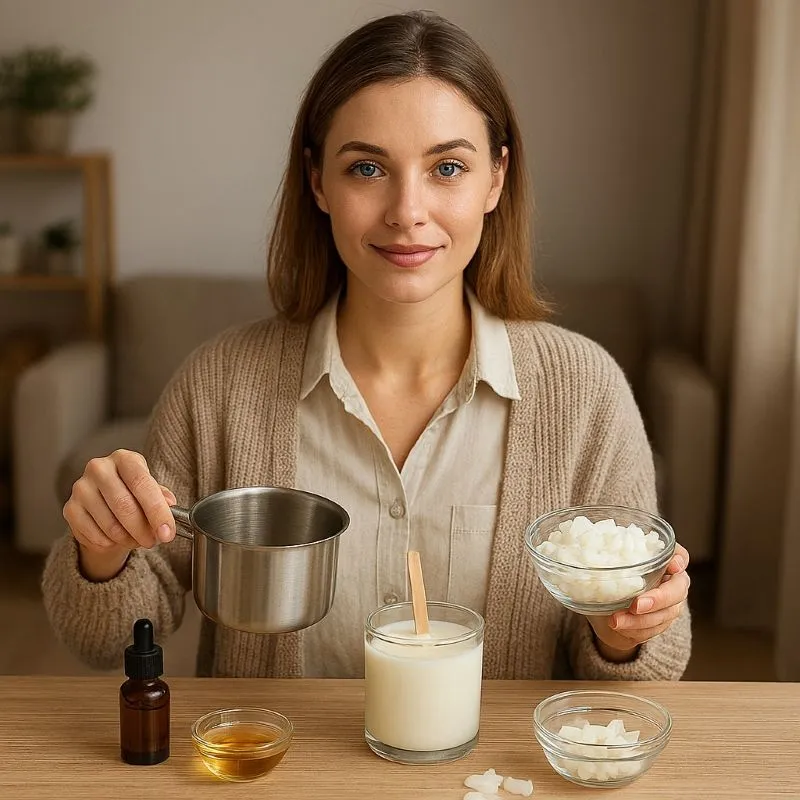 Candle making is an intricate craft that balances chemical reactions with artistic design. For many beginners the first few batches often result in visual imperfections such as deep sinkholes near the wick unsightly surface cracks or wet spots on the glass containers. These issues are not just aesthetic problems they can significantly impact the burn quality safety and scent throw of the finished product. Understanding why these candle making mistakes happen is the first step toward producing professional grade candles that outperform industrial paraffin versions.
In this guide we will analyze the physics of wax cooling identify the root causes of common defects and provide professional techniques to repair them. By mastering these nuances you can transform failed batches into luxury products with mirror smooth surfaces and clean burning properties.
The Science Behind Sinkholes and Air Pockets
Sinkholes are deep craters or hollow cavities that appear on the surface of a candle as it sets. This phenomenon occurs because natural waxes like soy and coconut expand when heated and contract as they cool. If the outer layer of the candle solidifies faster than the core the contracting wax inside pulls away from the center creating a vacuum that eventually collapses into a sinkhole.
To prevent sinkholes you should avoid pouring wax into cold containers. Preheating your jars slightly ensures a more uniform cooling rate. If a sinkhole has already formed do not panic. You can easily fix it by using a heat gun to melt the top layer of the wax allowing it to flow into the cavity. Alternatively you can save a small amount of wax from your original pour and perform a second pour once the candle has stabilized.
Understanding Surface Cracking and Temperature Shock
Cracks on the surface of a candle usually indicate that the wax was subjected to temperature shock. This happens when hot wax is poured into an extremely cold environment or when the candle cools down too quickly near a draft or air conditioner. The sudden drop in temperature causes the wax to shrink so rapidly that the molecular bonds snap resulting in visible fractures.
The best way to prevent cracking is to maintain a stable room temperature during the curing process. Ideally the room should be between twenty and twenty four degrees Celsius. Placing your candles on a wooden or cork surface rather than a cold stone or metal tabletop will also help slow down the cooling process. Ensuring the wax is poured at the correct manufacturer recommended temperature is equally vital for a smooth finish.
Wet Spots and Frosting in Natural Waxes
Wet spots are areas where the wax has pulled away from the side of the glass container creating a splotchy appearance. This is typically caused by poor glass adhesion. To fix this always clean your containers with rubbing alcohol before use to remove invisible oils or dust. Pouring the wax at a slightly higher temperature can also improve the bond between the wax and the glass.
Frosting refers to the white crystalline coating that often appears on the surface or sides of soy candles. This is a natural characteristic of vegetable waxes and is actually a sign of purity. While it is difficult to eliminate frosting completely you can minimize it by adding your fragrance oils at a lower temperature and avoiding drastic temperature changes during storage.
Recipe 1 Perfect Soy Container Candle with Zero Defect Finish
This recipe focuses on thermal balance to achieve a professional mirror like surface without craters.
Ingredients 150 grams of container soy wax 15 grams of fragrance oil cotton wick glass jar.
Step one Slowly melt the soy wax in a double boiler until it reaches eighty degrees Celsius to ensure the crystal lattice is fully broken down. Step two Clean the inside of your glass jar with alcohol and preheat it using a hair dryer until the glass feels warm to the touch. Step three Once the wax cools to seventy degrees Celsius add your fragrance oil and stir slowly for two full minutes to ensure complete bonding. Step four Allow the wax to cool further until it reaches fifty five degrees Celsius which is the optimal viscosity for a smooth pour. Step five Pour the wax very slowly into the jar while holding the container at a slight angle to prevent air bubbles from being trapped. Step six Place the candle in a draft free area and cover it with a cardboard box to slow down the cooling process for twenty four hours.
Recipe 2 Smooth Surface Coconut Wax Blend Candle
Coconut wax is more pliable and less prone to cracking but it requires specific handling to avoid surface sweating.
Ingredients 100 grams of coconut wax 30 grams of soy wax as a stabilizer 12 grams of essential oil wooden wick.
Step one Combine the coconut and soy waxes and melt them together. The soy wax acts as a hardening agent to prevent the coconut wax from being too soft. Step two Secure your wooden wick in its metal base and center it in the middle of your vessel. Step three Incorporate your essential oils at sixty five degrees Celsius as coconut wax holds fragrance better at medium temperatures. Step four Pour the mixture when the temperature drops to forty eight degrees Celsius. This low pour temperature significantly reduces the risk of sinkholes. Step five If any minor imperfections appear around the wick after cooling gently pass a heat gun over the surface for five seconds. Step six Let the candle cure for three days to allow the wax structure to fully stabilize before lighting.
Recipe 3 Anti Flaw Massage Candle with Natural Butters
Massage candles have a low melting point which requires careful stirring to prevent separation and surface puddles.
Ingredients 60 grams of soy wax 40 grams of shea butter 20 grams of sweet almond oil five drops of vitamin E.
Step one Melt the soy wax and shea butter together in a heat resistant container using a gentle water bath. Step two Add the liquid almond oil to the melted mixture which helps lower the overall temperature of the mass. Step three Stir in the vitamin E which serves as an antioxidant to prevent the natural oils from going rancid. Step four To prevent oil puddles on the surface stir the mixture continuously as it cools until it begins to look opaque and slightly thickened. Step five Pour the mass at forty five degrees Celsius into a ceramic or thick glass container. Step six Allow the candle to solidify in a cool room but do not put it in the refrigerator as the extreme cold will cause the surface to crack.
Recommendations for Storage and Fault Correction
Natural candles are highly sensitive to their environment and require specific storage conditions to maintain their quality.
If frosting or white crystals appear on your finished candle simply wipe the surface with a dry cloth or use a heat gun for a few seconds to reset the surface. To prevent future frosting store your candles in a dark place with a consistent temperature.
Storage for candles should always be in a dry room. High humidity can cause the cotton wick to absorb moisture which leads to a crackling sound or difficulty in keeping the candle lit. If your wick has absorbed moisture leave the candle in a warm dry area for twenty four hours before attempting to light it again.

To fix wet spots on glass you can try gently heating the outside of the glass with a hair dryer until the wax reattaches to the wall. However keep in mind that these spots may return if the candle is moved back into a cold environment.
Advantages of Natural Candles Over Industrial Analogs
Crafting your own candles while avoiding common technical mistakes results in a product of premium quality that mass produced versions cannot match.
The primary benefit is respiratory safety. Industrial paraffin candles release toxic compounds like toluene and benzene when burned. Natural vegetable waxes release only water vapor and a small amount of carbon dioxide making them safe even for sensitive environments or children rooms.
The burn time of natural candles is nearly double that of paraffin equivalents. This is because vegetable waxes have a lower melting point and burn slower providing a much longer period of enjoyment for each gram of wax.
The absence of synthetic additives and phthalates in your custom recipes ensures that you will not experience the headaches often associated with cheap store bought candles. You receive a true aromatherapy experience that calms the nervous system and improves the indoor atmosphere.
By following these professional troubleshooting steps you can eliminate defects and create candles that are perfect from the very first pour.


Cosmetic ingredients and professional formulation blog
This section features expert materials on modern cosmetic actives. We cover peptides, polynucleotides PDRN, different forms of hyaluronic acid, retinoids, ceramides and other key components.
Special focus is given to active stability, ingredient compatibility and correct incorporation into formulas. You will find practical guides on working with anti-age actives, moisturizing complexes and barrier repair ingredients.
We examine how to properly combine myorelaxants with peptides, common mistakes when using unstable vitamin C forms and ways to improve the performance of moisturizing actives.
Separate materials are dedicated to base oils, extracts, emulsifiers and supporting ingredients. This helps create stable and effective formulas for both professional and home cosmetics.
The blog regularly publishes reviews of trending actives, comparisons of similar ingredients and step-by-step formulation recommendations. The content is aimed at formulators, technologists and anyone seriously involved in creating cosmetic products.
Why this blog is useful
Here you will find practical data on eye area care actives, lifting systems and ingredients that improve skin firmness and tone. We rely on real formulation experience and address the actual challenges that arise during product development.
You can also explore materials on skin protection and repair, depigmentation and anti-inflammatory actives. This approach supports a more systematic selection of ingredients.
FAQ
What topics are covered most often
The blog focuses on peptides, PDRN, hyaluronic acid of different molecular weights, retinoids, ceramides and their compatibility rules.
Are there practical recommendations on how to incorporate actives
Yes, most articles include practical notes on pH stability, incorporation temperature and common formulation mistakes.
Is the content only for professionals
The materials are useful both for formulators and technologists and for those who create cosmetics for personal use and want to understand how modern ingredients work.
Where can I go directly to the ingredients
All key actives are collected in the Actives section, while base components are available in base oils and related categories.


