-
 DIY: Video master classes
-
 Aromatherapy
-
 Felting master classes
-
 Eating at home
-
 DIY cosmetics for children
-
 Cooking recipes
-
 Detergents, cleaning products with your own hands
-
 Soap making as a business
-
 Natural cosmetics. Raw materials for cosmetics and soap.
-
 Natural oils in cosmetics
-
 News
-
 Recipes for balms and conditioners
-
 Bath Bomb Recipes
-
 Cream recipes. Cream making.
-
 Lotion recipes. Gel recipes.
-
 Mask recipes
-
 Soap recipes. Base soap. Soap from scratch.
-
 Recipes for all occasions
-
 Natural shampoo recipes
-
 Healthy Nutrition Recipes
-
 Scrub recipes. Massage tiles. Ubtan
-
 DIY candles
-
 Reference materials, questions, tips
-
 Startup - soap production
-
 Hair care. Tips, recipes
-
 Facial skin care. Cleansers.
-
 Body care. Tips, recipes
-
 Photo Reviews
-
 Chocolate Handmade


How to choose a soap base glycerin olive organic what will suit you
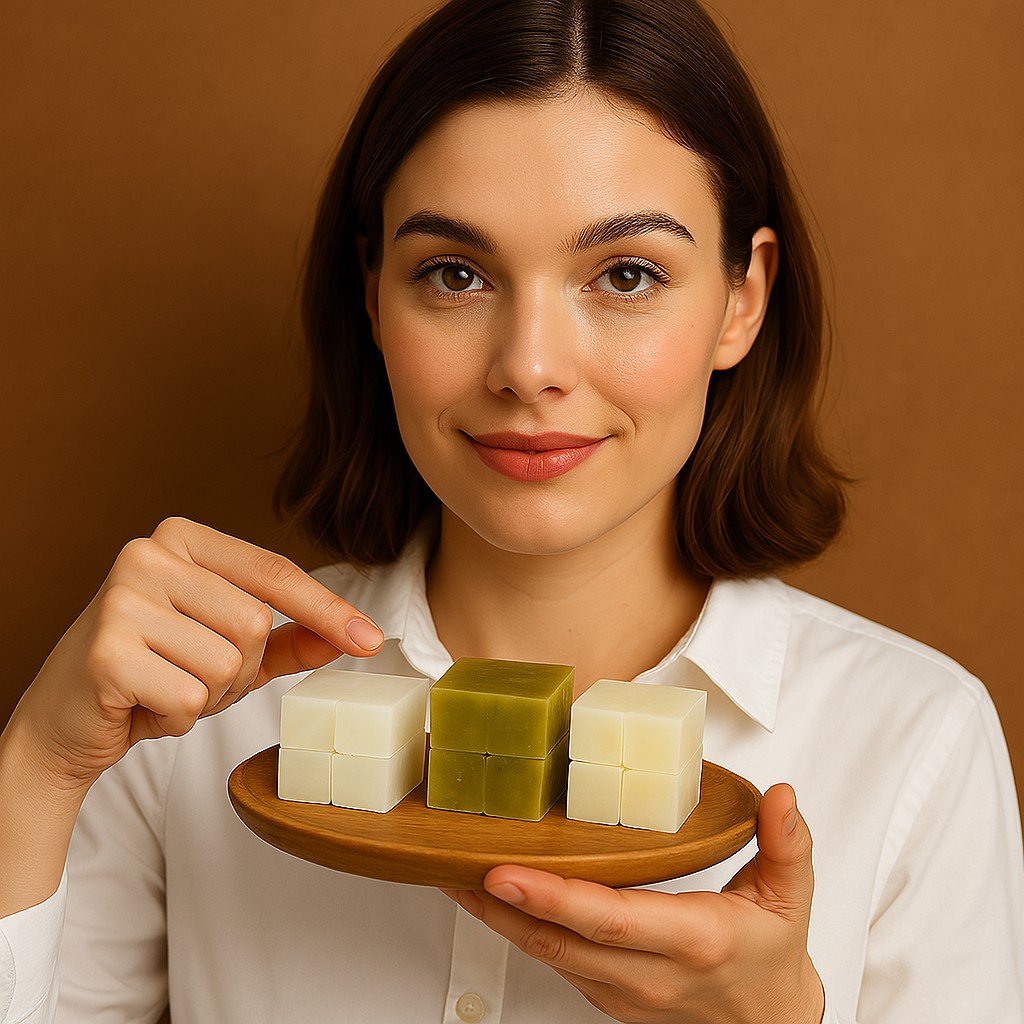 Navigating the world of DIY soap making can be incredibly rewarding, offering a chance to create personalized, gentle products for your skin. At the heart of most melt-and-pour soap projects lies the soap base, the foundation that determines your soap's lather, feel, and overall properties. With options like glycerin, olive oil, and organic bases, choosing the right one can feel daunting. But fear not! This comprehensive guide will demystify the various types of melt-and-pour soap bases, detail their unique characteristics, provide three step-by-step recipes, and highlight the undeniable advantages of crafting your own soap over relying on mass-produced alternatives.
What is Melt-and-Pour Soap Base and Why is it So Popular?
Melt-and-pour soap base is a pre-made soap product that has already undergone the saponification process (the chemical reaction of oils/fats with an alkali to form soap). This means the hard part is done for you. All you need to do is melt the base, add your desired colors, fragrances, and additives, and pour it into a mold.
Its popularity stems from several key benefits:
-
Simplicity: No handling of lye, making it safe and beginner-friendly.
-
Speed: Soap is ready to use as soon as it hardens, typically within a few hours.
-
Versatility: Easy to customize with a wide array of additives.
-
Consistency: Reliable results every time, minimizing trial and error.
Understanding the Different Types of Melt-and-Pour Soap Bases
The type of soap base you choose significantly impacts the final product's appearance, feel, and benefits. Let's explore the most common varieties:
1. Glycerin Soap Base (Clear and Opaque)
This is arguably the most common and versatile melt-and-pour base. It's essentially a mild, neutral soap that has extra glycerin added back into it (or retained from the saponification process). Glycerin is a humectant, meaning it attracts moisture from the air to the skin, providing excellent hydration.
-
Clear Glycerin Base: This base is highly transparent, allowing vibrant colors and embeds (like dried flowers or toys) to shine through. It produces a rich lather and is very gentle on the skin. Its main drawback is "sweating" (attracting humidity) if not stored properly.
-
Opaque Glycerin Base (White): This base has titanium dioxide added to make it white and opaque. It's great for solid colors and creates a creamy, luxurious lather. It's less prone to sweating than its clear counterpart.
Ideal For: Beginners, gift soaps, soaps with embeds, moisturizing soaps, and those who want a clear or vibrantly colored bar.
2. Olive Oil Soap Base
These bases typically feature a high percentage of olive oil, often as the primary oil. Olive oil is renowned for its moisturizing and conditioning properties, making this base incredibly gentle and nourishing.
-
Properties: Produces a creamy, mild lather rather than large bubbles. It's known for being very emollient and soothing, making it excellent for sensitive, dry, or mature skin. It's usually opaque or off-white.
-
Nuances: Can be softer than other bases, requiring a bit more cure time for hardness if not left in the mold long enough.
Ideal For: Dry skin, sensitive skin, baby soaps, facial soaps, and those seeking a highly moisturizing, traditional feel.
3. Organic Soap Base
An organic soap base typically means that the oils and butters used in its production (like organic coconut oil, organic palm oil, organic shea butter) are certified organic. These bases usually omit synthetic detergents, parabens, and often have a neutral scent, making them ideal for adding your own natural fragrances.
-
Properties: Varies depending on the specific organic oils used, but generally aims for a gentle, nourishing, and environmentally friendly profile. Often opaque or off-white.
-
Nuances: Can sometimes be slightly more expensive due to organic certification. Always check the full ingredient list to ensure it aligns with your preferences.
Ideal For: Those prioritizing organic ingredients, sensitive skin, eco-conscious individuals, and anyone looking for a "cleaner" label.
Advantages of Homemade Soap Over Industrial Counterparts
Crafting your own soap with a chosen base offers several compelling benefits beyond store-bought bars.
-
Ingredient Control: You choose exactly what goes in. No harsh detergents, synthetic fragrances, parabens, phthalates, or artificial dyes unless you want them. This is crucial for sensitive skin or those with allergies.
-
Customization: You can tailor the soap to your exact preferences – pick your favorite essential oils, add specific exfoliants like oatmeal or coffee grounds, or include nourishing additives like goat milk or honey.
-
Gentler on Skin: Many commercial soaps are actually detergents that strip the skin's natural oils. Homemade melt-and-pour soaps, especially those with high glycerin or olive oil content, are much gentler and more moisturizing.
-
Freshness: Your soap is freshly made, unlike mass-produced bars that might sit in warehouses for extended periods.
-
Cost-Effective: While there's an initial outlay for supplies, making soap in batches is often more economical than buying high-quality artisanal or organic soaps.
Three Detailed Recipes for Melt-and-Pour Soap
These recipes are designed for approximately 250 grams of soap base, yielding about two standard bars, but you can easily scale them up or down.
Recipe 1: Simple Hydrating Glycerin Soap Bar
This is a classic for beginners, showcasing the clarity and moisturizing properties of glycerin base.
-
Prepare your workspace and tools. Gather your chosen clear glycerin soap base, a heat-safe measuring cup or bowl, a stirring utensil, your mold, rubbing alcohol in a spray bottle, and any desired colorants or essential oils.
-
Cut and melt the soap base. Cut 250 grams of clear glycerin soap base into small, uniform cubes (about 1-inch squares) to ensure even melting. Place the cubes in your heat-safe container. Melt the soap in the microwave in 30-second bursts, stirring in between, until fully liquid. Alternatively, use a double boiler on the stovetop. Avoid overheating or boiling the soap, as this can affect its clarity and consistency.
-
Add color and fragrance. Once the base is fully melted, add 10-15 drops of your chosen skin-safe essential oil (like Lavender or Sweet Orange) or fragrance oil. For color, add a few drops of liquid cosmetic colorant or a pinch of mica powder. Stir gently until evenly distributed.
-
Pour into mold and mist. Carefully pour the scented and colored soap into your mold. Immediately after pouring, lightly mist the surface with rubbing alcohol to pop any surface bubbles.
-
Cool and unmold. Allow the soap to cool and harden completely at room temperature (this can take 1-2 hours, or faster in a refrigerator). Once firm, gently unmold your soap.
Recommendations for Use: Use this soap for hands or body. It produces a clear, moisturizing lather.
Storage: Store finished glycerin soap bars in airtight plastic wrap or a container to prevent "sweating" (attracting moisture from the air). Keep them in a cool, dry place away from direct sunlight.
Recipe 2: Nourishing Olive Oil & Oatmeal Soap Bar
This recipe highlights the gentle, conditioning nature of an olive oil soap base, perfect for sensitive or dry skin.
-
Prepare your workspace and tools. Gather 250 grams of olive oil soap base, a heat-safe container, stirring utensil, mold, rubbing alcohol, fine ground oatmeal, and a mild essential oil if desired.
-
Cut and melt the soap base. Cut 250 grams of olive oil soap base into small cubes. Melt in a microwave (30-second intervals) or on a double boiler, stirring gently until fully liquid. Olive oil base may melt slightly slower than pure glycerin bases.
-
Add oatmeal and fragrance. Once melted, add 1-2 tablespoons of fine ground oatmeal (not instant oatmeal) to the liquid soap base. Stir well to distribute evenly. If using essential oil (like Chamomile or Calendula), add 10-15 drops and stir.
-
Pour into mold and mist. Carefully pour the mixture into your mold. Mist the surface with rubbing alcohol to remove any bubbles.
-
Cool and unmold. Allow the soap to cool and harden completely at room temperature (this might take 2-3 hours due to the softer nature of olive oil base). Once firm, gently unmold your soap.
Recommendations for Use: Ideal for facial cleansing or body wash, especially for dry, sensitive, or irritated skin due to the moisturizing olive oil and soothing oatmeal.
Storage: Wrap individual bars tightly in plastic wrap or store in an airtight container to maintain freshness and prevent moisture loss. Keep in a cool, dry place.
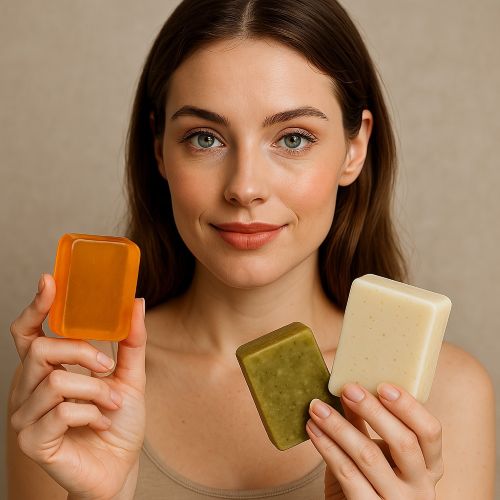
Recipe 3: Organic Shea Butter & Clay Detox Bar
This recipe leverages an organic soap base, combining it with beneficial additives for a purifying and nourishing bar.
-
Prepare your workspace and tools. Gather 250 grams of organic soap base (look for one with shea butter for extra creaminess), heat-safe container, stirring utensil, mold, rubbing alcohol, bentonite clay (or kaolin clay), and your preferred pure essential oil blend.
-
Cut and melt the soap base. Cut 250 grams of organic soap base into cubes and melt gently using a microwave or double boiler method, stirring periodically.
-
Prepare clay slurry (optional but recommended for smooth incorporation). In a small, separate bowl, mix 1 tablespoon of bentonite clay with a tiny amount (about 1 teaspoon) of the melted soap base or warm water to create a smooth, lump-free paste.
-
Add clay and essential oils. Once the main soap base is melted, stir in the clay slurry. For essential oils, add 15-20 drops of a purifying blend like Tea Tree and Rosemary. Stir thoroughly until the clay and oils are evenly distributed.
-
Pour into mold and mist. Pour the soap mixture into your mold. Mist the surface with rubbing alcohol to remove air bubbles.
-
Cool and unmold. Allow the soap to cool and harden completely at room temperature (usually 2-3 hours). Once firm, carefully unmold.
Recommendations for Use: Excellent for body cleansing, particularly for oily or acne-prone skin, thanks to the detoxifying properties of clay and the purifying essential oils.
 Storage:
Store individual bars wrapped tightly or in an airtight container. Keep in a cool, dry place away from direct sunlight.
Conclusion: Craft Your Perfect Lather
Choosing the right melt-and-pour soap base is the first and most exciting step in your DIY soap-making journey. Whether you opt for the versatile clarity of glycerin, the nourishing touch of olive oil, or the pure appeal of organic, each base offers a unique canvas for your creativity. By understanding their differences and mastering the simple art of melt-and-pour, you gain the power to craft personalized, gentle, and truly beneficial soaps that far surpass the generic options found on store shelves. So, pick your base, unleash your imagination, and enjoy the satisfaction of creating your very own perfect lather!


Cosmetic ingredients and professional formulation blog
This section features expert materials on modern cosmetic actives. We cover peptides, polynucleotides PDRN, different forms of hyaluronic acid, retinoids, ceramides and other key components.
Special focus is given to active stability, ingredient compatibility and correct incorporation into formulas. You will find practical guides on working with anti-age actives, moisturizing complexes and barrier repair ingredients.
We examine how to properly combine myorelaxants with peptides, common mistakes when using unstable vitamin C forms and ways to improve the performance of moisturizing actives.
Separate materials are dedicated to base oils, extracts, emulsifiers and supporting ingredients. This helps create stable and effective formulas for both professional and home cosmetics.
The blog regularly publishes reviews of trending actives, comparisons of similar ingredients and step-by-step formulation recommendations. The content is aimed at formulators, technologists and anyone seriously involved in creating cosmetic products.
Why this blog is useful
Here you will find practical data on eye area care actives, lifting systems and ingredients that improve skin firmness and tone. We rely on real formulation experience and address the actual challenges that arise during product development.
You can also explore materials on skin protection and repair, depigmentation and anti-inflammatory actives. This approach supports a more systematic selection of ingredients.
FAQ
What topics are covered most often
The blog focuses on peptides, PDRN, hyaluronic acid of different molecular weights, retinoids, ceramides and their compatibility rules.
Are there practical recommendations on how to incorporate actives
Yes, most articles include practical notes on pH stability, incorporation temperature and common formulation mistakes.
Is the content only for professionals
The materials are useful both for formulators and technologists and for those who create cosmetics for personal use and want to understand how modern ingredients work.
Where can I go directly to the ingredients
All key actives are collected in the Actives section, while base components are available in base oils and related categories.



