-
 DIY: Video master classes
-
 Aromatherapy
-
 Felting master classes
-
 Eating at home
-
 DIY cosmetics for children
-
 Cooking recipes
-
 Detergents, cleaning products with your own hands
-
 Soap making as a business
-
 Natural cosmetics. Raw materials for cosmetics and soap.
-
 Natural oils in cosmetics
-
 News
-
 Recipes for balms and conditioners
-
 Bath Bomb Recipes
-
 Cream recipes. Cream making.
-
 Lotion recipes. Gel recipes.
-
 Mask recipes
-
 Soap recipes. Base soap. Soap from scratch.
-
 Recipes for all occasions
-
 Natural shampoo recipes
-
 Healthy Nutrition Recipes
-
 Scrub recipes. Massage tiles. Ubtan
-
 DIY candles
-
 Reference materials, questions, tips
-
 Startup - soap production
-
 Hair care. Tips, recipes
-
 Facial skin care. Cleansers.
-
 Body care. Tips, recipes
-
 Photo Reviews
-
 Chocolate Handmade


How to make a tanning activator oil - a recipe for an even, bright and safe tan
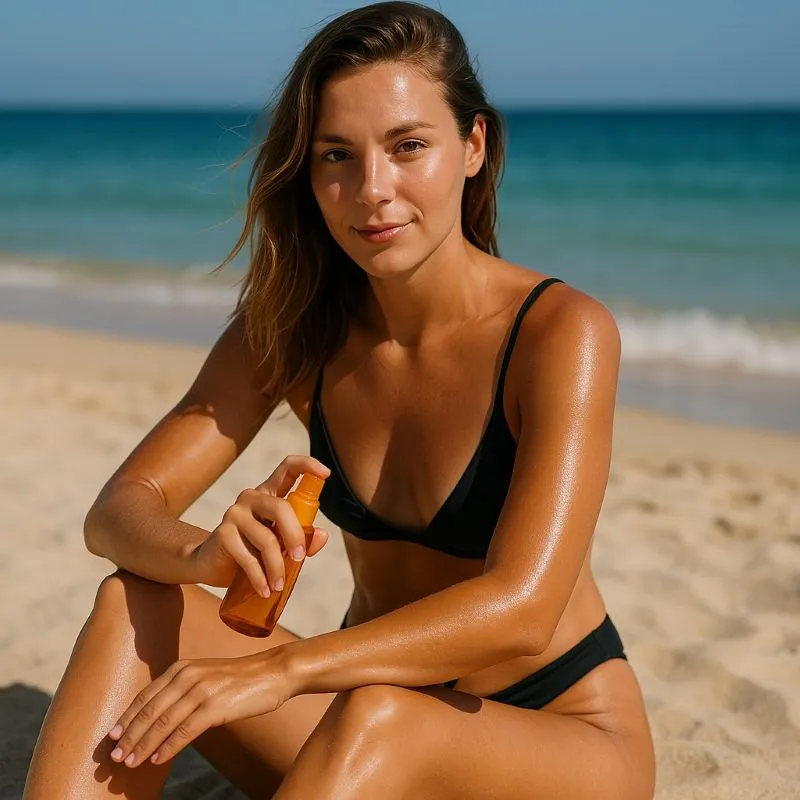 Achieving a beautiful, even, and long-lasting tan is a desire for many as summer approaches. While commercial tanning accelerators flood the market, crafting your own natural tanning activator oil allows for complete control over ingredients, ensuring purity, potency, and a personalized touch. This article will guide you through the process of creating effective homemade tanning activator oils, detailing the beneficial properties of each component, providing three unique recipes, and outlining crucial usage and storage recommendations for a truly radiant and safer tanning experience.
Why a Tanning Activator? Understanding Melanin & Skin Preparation
Tanning activator oils work by supporting the skin's natural tanning process. When exposed to UV radiation, specialized cells called melanocytes produce melanin, the pigment responsible for skin tanning. Tanning activators typically contain ingredients that:
- **Stimulate Melanin Production:** Ingredients rich in beta-carotene or tyrosine can help prime melanocytes, encouraging more efficient melanin synthesis.
- **Nourish and Hydrate:** Well-hydrated, supple skin tans more evenly and retains its tan longer. These oils provide essential fatty acids and vitamins.
- **Provide Antioxidant Protection:** While not sunscreens, some ingredients offer antioxidant benefits, helping to combat free radical damage from sun exposure.
Using an activator oil a few days before sun exposure can help your skin develop a base tan more efficiently, potentially reducing the time needed in the sun to achieve your desired color, thus contributing to a safer tanning approach when combined with SPF.
The Powerhouse Ingredients for Your DIY Tanning Activator
The magic of a tanning activator lies in its carefully selected natural oils:
- **Carrot Oil (Macerate):** A potent source of beta-carotene, which converts to Vitamin A in the body. Beta-carotene is known to stimulate melanin production, leading to a golden-orange tint to the skin and providing antioxidant protection.
- **Walnut Oil:** Contains juglone, a natural pigment that can interact with the skin to produce a brownish tint. It's also rich in vitamins and fatty acids, nourishing the skin. (Note: has very minimal natural SPF, not a substitute for sunscreen).
- **Apricot Kernel Oil:** A light, easily absorbed oil rich in Vitamins A, E, and F. It deeply moisturizes and softens the skin, preventing dryness and flaking, which can lead to an uneven tan.
- **Red Raspberry Seed Oil:** Known for its high antioxidant content and natural anti-inflammatory properties. It also possesses a relatively high natural SPF (though inconsistent and unreliable for proper sun protection), making it a popular choice for 'natural' sun blends.
- **Sea Buckthorn Oil:** An incredibly rich source of carotenoids (including beta-carotene), Vitamin E, and fatty acids. It promotes skin regeneration, deep nourishment, and can enhance a golden glow. (Can stain clothing due to its vibrant color, use sparingly).
- **Vitamin E (Tocopherol):** A powerful antioxidant that helps protect skin cells from damage caused by free radicals generated by UV radiation. It also acts as a natural preservative for the oils.
- **Essential Oils (Optional, with caution):** Can add a delightful scent and additional skin benefits. Examples include Carrot Seed Essential Oil (for added beta-carotene), Sandalwood (soothing), Lavender (calming), Ylang Ylang (exotic aroma). **Crucially, avoid phototoxic essential oils like cold-pressed Bergamot, Lemon, Lime, or Grapefruit when exposed to sun. Always choose "FCF" (Furanocoumarin-Free) versions or non-phototoxic alternatives.**
Crafting Your Own Sun-Kissed Glow: Three DIY Tanning Activator Oil Recipes
Always ensure all your tools and bottles are clean and sterilized before mixing to prevent contamination and prolong shelf life. Use dark glass bottles to protect the oils from light degradation.
Recipe 1: The Golden Glow Classic Activator
A beloved blend focusing on beta-carotene and natural tanning enhancers for a rich, golden hue.
Ingredients (for 100 ml):
- 50 ml Apricot Kernel Oil (light, nourishing base)
- 30 ml Walnut Oil (tanning enhancer)
- 15 ml Carrot Oil Macerate (beta-carotene boost)
- 3 ml Rosehip Seed Oil (skin regeneration & tone)
- 2 ml Vitamin E (antioxidant & preservative)
- 5-8 drops non-phototoxic essential oils (e.g., Carrot Seed, Sandalwood, Lavender, or Ylang Ylang - total)
Preparation Nuances & Instructions:
- Ensure your dark glass bottle is clean and completely dry.
- Using a measuring cup or syringe, accurately measure and pour the Apricot Kernel Oil, Walnut Oil, and Carrot Oil Macerate into the bottle.
- Add the Rosehip Seed Oil and Vitamin E.
- Cap the bottle tightly and gently invert and swirl to combine the base oils.
- Carefully add your chosen non-phototoxic essential oils.
- Close the bottle tightly and shake vigorously for 1-2 minutes to ensure all components are thoroughly mixed and emulsified.
Recommendations for Use:
For best results, start applying this oil daily to clean skin (preferably after a shower) for a few days before planned sun exposure. This helps prepare the skin. On sun exposure days, apply a generous amount to your body (avoiding face if prone to breakouts or sensitivity to specific oils), gently massage it in, and allow it to absorb for 10-15 minutes. **Crucially, follow immediately with your regular broad-spectrum sunscreen (SPF 30 or higher) for adequate UV protection.** Reapply sunscreen every 2 hours, or more often after swimming or sweating. This oil can also be used as an after-sun moisturizer to prolong your tan.
Storage:
Store in the provided dark glass bottle in a cool, dry place away from direct sunlight and heat. The Vitamin E acts as an antioxidant. The shelf life is typically 6-9 months, depending on the freshness of your oils at the time of mixing. Discard if you notice any change in scent (rancid) or color.
Advantages over Industrial Analogues:
- Pure Ingredients: You control the quality and purity of each oil, avoiding synthetic fragrances, dyes, parabens, and mineral oils commonly found in commercial products.
- Customizable Potency: Adjust the ratios of oils or add specific essential oils to suit your skin's needs and preferences.
- Cost-Effective: Often significantly cheaper to make than purchasing high-quality natural activator oils.
- Enhanced Freshness: Homemade batches ensure active ingredients are fresh and potent, maximizing their benefits.
Recipe 2: The Nourishing Tropical Infusion Activator
A hydrating blend with a subtle tropical hint, excellent for skin nourishment alongside tanning activation.
Ingredients (for 100 ml):
- 40 ml Coconut Oil (Fractionated or Virgin - provides deep moisture and tropical aroma)
- 30 ml Jojoba Oil (closest to skin's natural sebum, easily absorbed)
- 15 ml Red Raspberry Seed Oil (antioxidant-rich, good for sun-exposed skin)
- 10 ml Macadamia Nut Oil (rich in palmitoleic acid, excellent for mature skin)
- 5 ml Vitamin E
- 5-7 drops non-phototoxic essential oils (e.g., Ylang Ylang, Sandalwood, Sweet Orange FCF)
Preparation Nuances & Instructions:
- If using virgin coconut oil that solidifies at room temperature, gently warm it in a double boiler until liquid. Allow it to cool slightly before mixing with other oils. Fractionated coconut oil stays liquid.
- Pour Jojoba Oil, Red Raspberry Seed Oil, Macadamia Nut Oil, and liquid Coconut Oil into your clean, dark glass bottle.
- Add Vitamin E and your chosen essential oils.
- Secure the cap and shake vigorously for 1-2 minutes until thoroughly combined.
Recommendations for Use:
Apply to clean, slightly damp skin as part of your daily routine leading up to sun exposure. When tanning, apply generously to areas you wish to tan, allow absorption for 10-15 minutes, and then **always follow immediately with your high SPF sunscreen.** Reapply sunscreen diligently. This blend is particularly nourishing and can also serve as a luxurious after-sun body oil.
Storage:
Store in a dark glass bottle in a cool, dry place. If using virgin coconut oil, it may solidify in colder temperatures; gently warm in a bowl of warm water to liquefy. Shelf life is typically 6-9 months, depending on ingredient freshness.
Advantages over Industrial Analogues:
- Intense Hydration: Coconut and Jojoba oils are deeply moisturizing, preventing dryness and peeling often associated with sun exposure.
- Broad Spectrum of Nutrients: Offers a wider array of vitamins, minerals, and fatty acids from diverse plant oils.
- Customizable Scent: Choose your favorite non-phototoxic essential oils for a personalized aroma.
- Absence of Chemical UV Filters: While this means you must apply SPF, it ensures no unwanted chemical interactions with your skin.
Recipe 3: The Antioxidant-Rich Pre-Tan Elixir
Designed to deeply nourish and protect the skin while preparing it for a vibrant tan.
Ingredients (for 100 ml):
- 50 ml Grapeseed Oil (light, non-comedogenic, good for all skin types)
- 20 ml Hemp Seed Oil (rich in Omega fatty acids, anti-inflammatory)
- 15 ml Tamanu Oil (skin healing, regenerative, can have a strong scent)
- 10 ml Sea Buckthorn Oil (CO2 extract, highly concentrated carotenoids - *use sparingly, can stain!*)
- 5 ml Vitamin E
- 8-10 drops non-phototoxic essential oils (e.g., Neroli, Petitgrain, Geranium, Frankincense)
Preparation Nuances & Instructions:
- Due to the intense color of Sea Buckthorn Oil, add it carefully. Begin by pouring Grapeseed, Hemp Seed, and Tamanu oils into your clean, dark bottle.
- Add the Sea Buckthorn Oil. It will immediately begin to color the mixture.
- Add Vitamin E and your selected essential oils.
- Cap tightly and shake vigorously for 2-3 minutes to ensure even distribution of the highly pigmented Sea Buckthorn Oil. You'll notice a beautiful orange-gold hue.
Recommendations for Use:
This powerful blend is best used as a pre-tan treatment for 3-5 days before sun exposure and sparingly on tanning days. Apply a small amount to clean skin daily to build up its nourishing benefits. On tanning days, apply a thin layer to clean skin, wait for absorption (10-15 min), and **strictly follow with a high SPF sunscreen.** Due to Sea Buckthorn's staining potential, apply it well before dressing or use old towels. This oil is excellent for its regenerative properties after sun exposure too.
Storage:
Store in a dark glass bottle in a cool, dry place. The high antioxidant content helps with stability. Shelf life is typically 6-9 months, but monitor for changes in smell. If a strong, earthy smell develops or it becomes rancid, discard.
Advantages over Industrial Analogues:
- Superior Antioxidant Profile: Hemp Seed and Sea Buckthorn oils provide an unparalleled array of antioxidants for skin health.
- Deep Skin Repair: Tamanu oil is renowned for its healing and regenerative properties, aiding in maintaining skin integrity during sun exposure.
- Tailored Nutrients: You can choose specific oils known for benefits relevant to your skin concerns (e.g., for acne-prone skin, use Grapeseed and Hemp Seed as primary base).
- Transparency & Purity: No synthetic emulsifiers, stabilizers, or harmful chemicals often found in mass-produced tanning lotions.
Crucial Safety & Usage Guidelines for Tanning Activator Oils
While homemade tanning activator oils offer wonderful benefits, responsible usage is paramount:
-
The Golden Rule: SPF is Non-Negotiable!
Your homemade activator oil **does NOT protect you from sunburn or UV damage.** It aids in melanin production. Always apply a broad-spectrum sunscreen with an SPF of 30 or higher (and preferably higher) over your activator oil before any sun exposure. Reapply sunscreen every two hours, or more frequently if swimming or sweating. - Patch Test First: Before applying any new blend to your entire body, perform a patch test on a small, inconspicuous area of skin (e.g., inner arm) 24 hours prior to check for allergic reactions or sensitivities.
- Essential Oil Dilution & Phototoxicity: Always dilute essential oils properly in carrier oils. **Absolutely avoid phototoxic essential oils before sun exposure.** If you're unsure, omit them entirely or stick to widely recognized safe options like Lavender, Sandalwood, or Frankincense.
- Gradual Sun Exposure: Even with activators and SPF, tanning should be a gradual process. Avoid prolonged sun exposure, especially during peak UV hours (10 AM to 4 PM).
- Hydration from Within: Drink plenty of water to keep your skin hydrated from the inside out, which also contributes to a better and longer-lasting tan.
- Exfoliation: Gentle exfoliation a day or two before applying the activator and tanning can help ensure a more even application and smoother tan.
- Consistency is Key: Regular, moderate application of the activator oil and consistent, safe sun exposure will yield the best results.
The DIY Advantage: Why Homemade Tanning Activators Shine
Opting for homemade tanning activator oils offers distinct benefits over commercially available products:
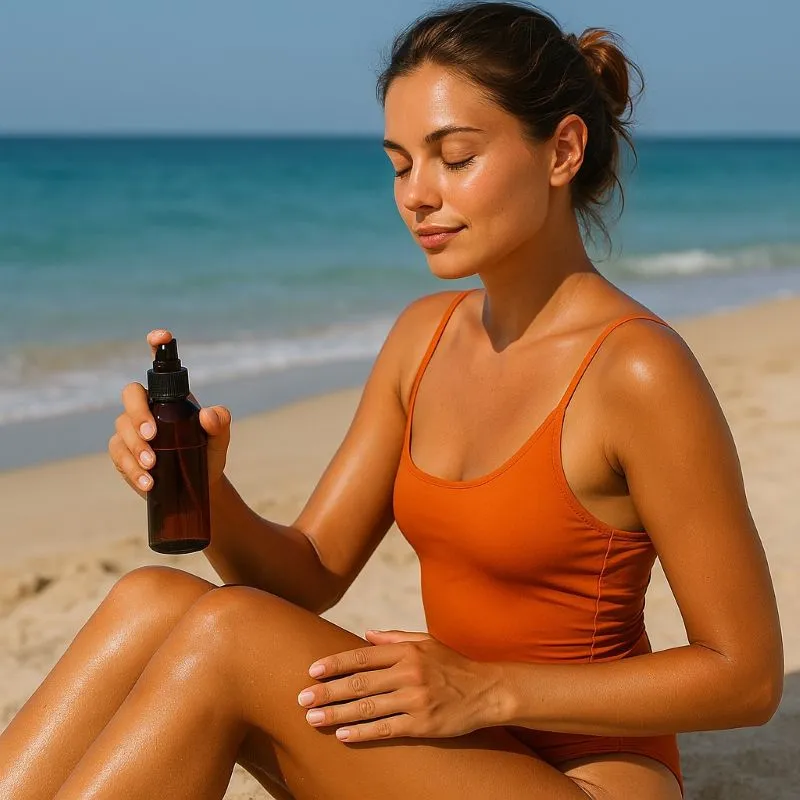
- Unmatched Purity and Control: You hand-select every ingredient, ensuring no unwanted chemicals, preservatives, synthetic fragrances, or unnecessary fillers touch your skin.
- Superior Freshness and Potency: Homemade oils are prepared right before use, meaning the active ingredients are at their peak efficacy, unlike commercial products that sit on shelves for months.
- Cost-Effectiveness: While initial investment in individual oils might seem high, a single bottle of quality base oils can yield multiple batches of activator, making it significantly more economical in the long run.
- Customization for Your Skin: Tailor the blend to your specific skin type and needs. Have dry skin? Add more rich, nourishing oils. Sensitive? Opt for gentler base oils and omit essential oils.
- Environmental Friendliness: Reduce packaging waste and support sustainable sourcing by purchasing bulk ingredients.
Conclusion: Achieve Your Golden Glow Responsibly
Creating your own tanning activator oil is a rewarding process that empowers you with control over your skincare regimen. By harnessing the power of natural oils, you can stimulate your skin's melanin production, promote an even and vibrant tan, and provide essential nourishment. Remember, the key to a beautiful and lasting tan is always a balanced approach: using your homemade activator to prepare and enhance, but **never, ever skipping your broad-spectrum sunscreen for protection.** Embrace the sun responsibly, enjoy your naturally glowing skin, and shine on!


Cosmetic ingredients and professional formulation blog
This section features expert materials on modern cosmetic actives. We cover peptides, polynucleotides PDRN, different forms of hyaluronic acid, retinoids, ceramides and other key components.
Special focus is given to active stability, ingredient compatibility and correct incorporation into formulas. You will find practical guides on working with anti-age actives, moisturizing complexes and barrier repair ingredients.
We examine how to properly combine myorelaxants with peptides, common mistakes when using unstable vitamin C forms and ways to improve the performance of moisturizing actives.
Separate materials are dedicated to base oils, extracts, emulsifiers and supporting ingredients. This helps create stable and effective formulas for both professional and home cosmetics.
The blog regularly publishes reviews of trending actives, comparisons of similar ingredients and step-by-step formulation recommendations. The content is aimed at formulators, technologists and anyone seriously involved in creating cosmetic products.
Why this blog is useful
Here you will find practical data on eye area care actives, lifting systems and ingredients that improve skin firmness and tone. We rely on real formulation experience and address the actual challenges that arise during product development.
You can also explore materials on skin protection and repair, depigmentation and anti-inflammatory actives. This approach supports a more systematic selection of ingredients.
FAQ
What topics are covered most often
The blog focuses on peptides, PDRN, hyaluronic acid of different molecular weights, retinoids, ceramides and their compatibility rules.
Are there practical recommendations on how to incorporate actives
Yes, most articles include practical notes on pH stability, incorporation temperature and common formulation mistakes.
Is the content only for professionals
The materials are useful both for formulators and technologists and for those who create cosmetics for personal use and want to understand how modern ingredients work.
Where can I go directly to the ingredients
All key actives are collected in the Actives section, while base components are available in base oils and related categories.


