-
 DIY: Video master classes
-
 Aromatherapy
-
 Felting master classes
-
 Eating at home
-
 DIY cosmetics for children
-
 Cooking recipes
-
 Detergents, cleaning products with your own hands
-
 Soap making as a business
-
 Natural cosmetics. Raw materials for cosmetics and soap.
-
 Natural oils in cosmetics
-
 News
-
 Recipes for balms and conditioners
-
 Bath Bomb Recipes
-
 Cream recipes. Cream making.
-
 Lotion recipes. Gel recipes.
-
 Mask recipes
-
 Soap recipes. Base soap. Soap from scratch.
-
 Recipes for all occasions
-
 Natural shampoo recipes
-
 Healthy Nutrition Recipes
-
 Scrub recipes. Massage tiles. Ubtan
-
 DIY candles
-
 Reference materials, questions, tips
-
 Startup - soap production
-
 Hair care. Tips, recipes
-
 Facial skin care. Cleansers.
-
 Body care. Tips, recipes
-
 Photo Reviews
-
 Chocolate Handmade


The physics and chemistry of soap in simple terms
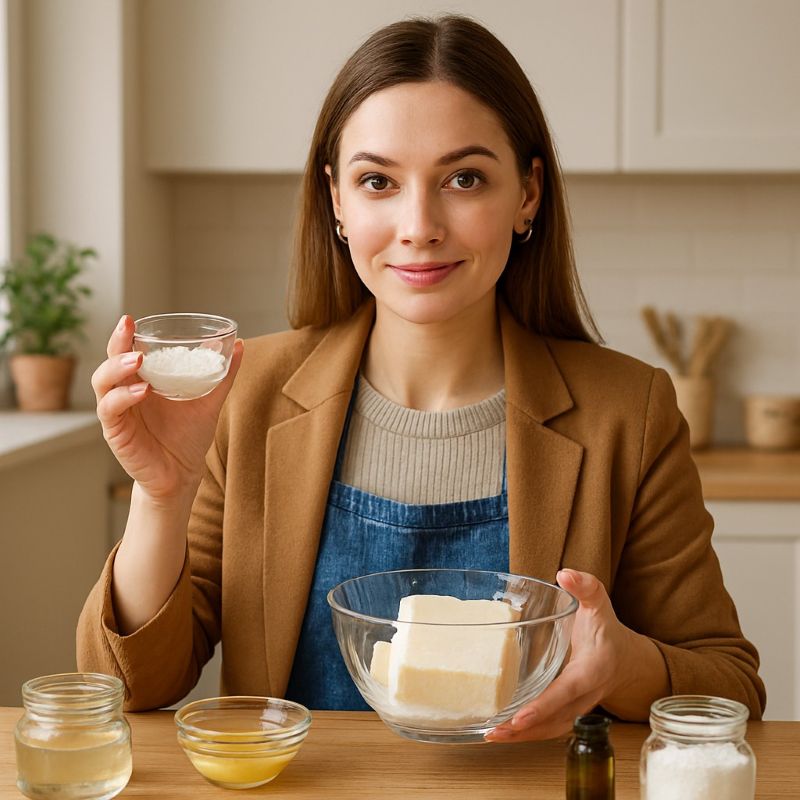 Soap is often viewed as a simple household utility but it is actually a marvel of molecular engineering. Every time you wash your hands you are triggering a series of physical and chemical reactions that have been refined over thousands of years. Understanding the physics and chemistry of soap in simple terms allows you to move beyond following recipes and start creating custom skincare that works in harmony with your body biological needs.
In this comprehensive guide we will break down how soap molecules are formed and how they perform the incredible task of making oil and water mix. By mastering these principles you can create handmade products that provide superior cleaning and skin protection compared to mass produced industrial detergents.
The Molecular Secret of How Soap Cleanses
To understand soap we must look at its molecular structure. A soap molecule is often described as looking like a tadpole. It has a round head and a long wavy tail. These two parts have opposite personalities which is the key to their cleaning power.
The head of the molecule is hydrophilic meaning it loves water. It wants to bond with water molecules at every opportunity. The tail is hydrophobic meaning it fears water but loves fats and oils. This dual nature makes soap a surfactant or a surface active agent.
When you apply soap to dirty skin the hydrophobic tails move away from the water and bury themselves into the oils and greys on your skin. The hydrophilic heads stay pointing outward toward the water. As you scrub and rinse the heads pull the tails away from your skin carrying the trapped oil and dirt with them into the water. This structure that traps the dirt is called a micelle.
The Chemical Reaction Saponification Explained
The process of creating soap is a chemical reaction called saponification. This happens when a triglyceride which is a fat or oil meets a strong alkali usually sodium hydroxide for solid bars or potassium hydroxide for liquid soaps.
During this reaction the alkali breaks the bond that holds the fatty acids together in the oil. The fatty acids then attach to the alkali molecules to form a new substance soap. A very important byproduct of this reaction is glycerin. In handmade soap glycerin is left in the final product to act as a humectant drawing moisture into the skin. Industrial manufacturers often remove this glycerin to sell it separately in expensive lotions leaving the commercial soap bar harsh and drying.
Physical Nuances of Temperature and Emulsification
The physics of soap making involves controlling the state of matter. Most natural oils are liquid at room temperature while butters like shea or cocoa are solid. For a successful chemical reaction all ingredients must be in a similar state.
Heat is used to turn solid fats into liquids. When the warm oils meet the lye water physical emulsification begins. By using a blender you are physically breaking the oil and water into tiny droplets increasing the surface area where the molecules can touch and react. This physical movement speeds up the chemical bonding process until the mixture reaches trace a point where the oil and water no longer separate.
Recipe 1 Scientific Simple Bastille Soap
This recipe uses a high concentration of olive oil to demonstrate the gentle nature of long chain fatty acids.
Ingredients 400 grams Olive Oil 100 grams Coconut Oil 68 grams Sodium Hydroxide 150 grams Distilled Water.
Step one Pour the Distilled Water into a heat safe glass container and slowly add the Sodium Hydroxide while stirring until clear. Step two Place the solid Coconut Oil in a pot and heat gently until it turns into a clear liquid then mix it with the Olive Oil. Step three Check that both the lye water and the oil blend are warm to the touch but not hot before combining. Step four Pour the lye solution into the oils and use a stick blender in short bursts to begin the physical emulsification. Step five Continue blending until you see the mixture thicken to the consistency of heavy cream which indicates that saponification is well underway. Step six Pour into a mold and allow it to sit for forty eight hours to complete the chemical transformation.
Recipe 2 High Lather Coconut and Castor Bar
This recipe focuses on the physics of surface tension showing how different oils can create larger bubbles.
Ingredients 250 grams Coconut Oil 200 grams Olive Oil 50 grams Castor Oil 72 grams Sodium Hydroxide 160 grams Distilled Water.
Step one Mix the Olive Oil and Castor Oil together in a large stainless steel bowl. Step two Melt the Coconut Oil and add it to the other oils ensuring a homogenous lipid blend. Step three Carefully prepare your lye solution by adding the lye to the water and letting the initial heat from the reaction dissipate. Step four Combine the lye water with the oils and blend until you reach a medium trace. Step five The addition of Castor Oil here changes the physics of the bubbles making them more stable and creamy. Step six Pour into molds and leave in a cool place for twenty four hours before unmolding and cutting into bars.
Recipe 3 Nutrient Rich Shea Butter Conditioning Bar
A recipe designed to show how unsaponified fats or superfatting provide a protective physical barrier on the skin.
Ingredients 250 grams Olive Oil 150 grams Shea Butter 100 grams Coconut Oil 67 grams Sodium Hydroxide 155 grams Distilled Water.
Step one Slowly melt the Shea Butter as it has a higher melting point than liquid oils. Step two Combine the melted Shea Butter with the Coconut and Olive oils to create a rich nutrient dense base. Step three Mix the lye and water and allow the solution to cool until it reaches room temperature. Step four Pour the lye into the oils and blend. Because of the high butter content this mass will thicken quickly. Step five Once you reach a thick trace pour the mixture into individual molds to take advantage of the high fat content. Step six Cure the soap for at least six weeks to allow the water to evaporate and the crystal structure of the soap to harden.
Recommendations for Use and Storage
Proper storage is a matter of physics keeping the moisture balance of the soap correct.
Storage for Curing During the first six weeks handmade soap must be stored in a well ventilated area. This allows the physical evaporation of water making the bar harder and longer lasting. Avoid plastic wrap during this stage as it traps moisture and can cause the soap to go rancid.
Daily Use Instructions Handmade soap is physically different from industrial bars because it contains natural glycerin which attracts water. To prevent the soap from becoming soft always use a soap dish with deep ridges or holes that allow the bar to dry completely between uses.
Temperature and Longevity Keep your soap away from direct heat sources and sunlight. High heat can accelerate the oxidation of the natural oils while UV light can fade natural colors and scents. A cool dark cupboard is the ideal environment for long term storage.
Advantages Over Industrial Analogues
Understanding the physics and chemistry of soap in simple terms highlights why handmade products are far superior to factory made versions.
Superior Skin Barrier Protection Industrial soaps are technically synthetic detergents made from petroleum derivatives. They are designed to strip everything away including the skin natural protection. Handmade soap preserves the skin acid mantle and provides essential lipids.
Environmental Chemistry Handmade soap is biodegradable. The molecules break down easily in the environment without leaving behind the persistent synthetic chemicals found in mass market liquid soaps and body washes.
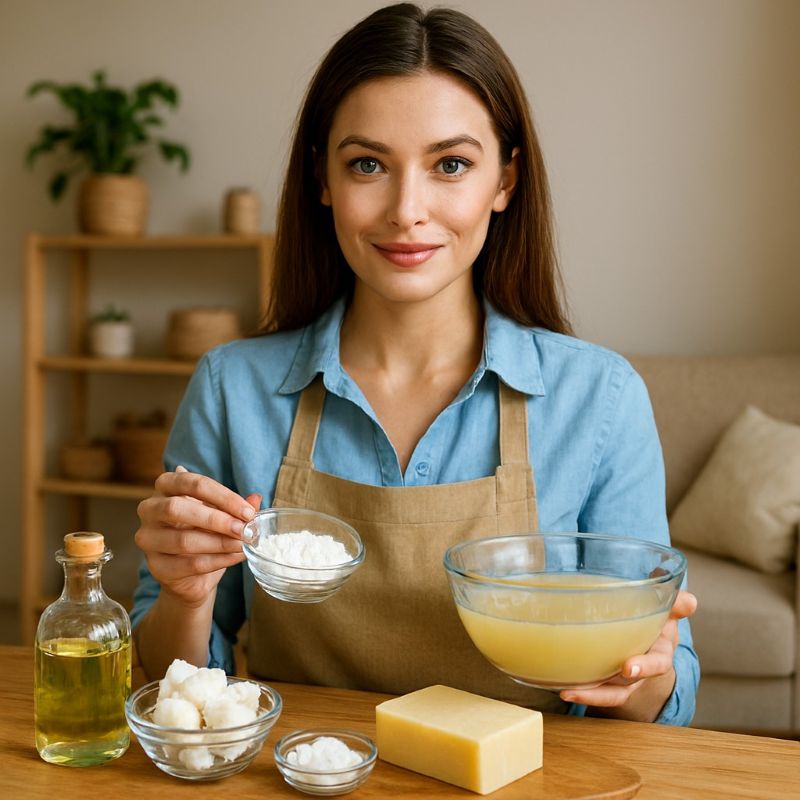
Glycerin Retention vs Removal By keeping the glycerin that occurs during saponification you create a soap that acts as a treatment for the skin. Industrial manufacturers remove glycerin to use it in more expensive moisturizers forced to fix the damage their harsh soap causes.
Physical Customization When you make your own soap you control the physics of the lather. You can choose to have a creamy dense lather for shaving or a bubbly light lather for a refreshing shower a level of customization impossible with standardized industrial products.
By mastering the simple science behind soap you empower yourself to create high performance cosmetics that are as kind to your skin as they are to the planet.


Cosmetic ingredients and professional formulation blog
This section features expert materials on modern cosmetic actives. We cover peptides, polynucleotides PDRN, different forms of hyaluronic acid, retinoids, ceramides and other key components.
Special focus is given to active stability, ingredient compatibility and correct incorporation into formulas. You will find practical guides on working with anti-age actives, moisturizing complexes and barrier repair ingredients.
We examine how to properly combine myorelaxants with peptides, common mistakes when using unstable vitamin C forms and ways to improve the performance of moisturizing actives.
Separate materials are dedicated to base oils, extracts, emulsifiers and supporting ingredients. This helps create stable and effective formulas for both professional and home cosmetics.
The blog regularly publishes reviews of trending actives, comparisons of similar ingredients and step-by-step formulation recommendations. The content is aimed at formulators, technologists and anyone seriously involved in creating cosmetic products.
Why this blog is useful
Here you will find practical data on eye area care actives, lifting systems and ingredients that improve skin firmness and tone. We rely on real formulation experience and address the actual challenges that arise during product development.
You can also explore materials on skin protection and repair, depigmentation and anti-inflammatory actives. This approach supports a more systematic selection of ingredients.
FAQ
What topics are covered most often
The blog focuses on peptides, PDRN, hyaluronic acid of different molecular weights, retinoids, ceramides and their compatibility rules.
Are there practical recommendations on how to incorporate actives
Yes, most articles include practical notes on pH stability, incorporation temperature and common formulation mistakes.
Is the content only for professionals
The materials are useful both for formulators and technologists and for those who create cosmetics for personal use and want to understand how modern ingredients work.
Where can I go directly to the ingredients
All key actives are collected in the Actives section, while base components are available in base oils and related categories.



