-
 DIY: Video master classes
-
 Aromatherapy
-
 Felting master classes
-
 Eating at home
-
 DIY cosmetics for children
-
 Cooking recipes
-
 Detergents, cleaning products with your own hands
-
 Soap making as a business
-
 Natural cosmetics. Raw materials for cosmetics and soap.
-
 Natural oils in cosmetics
-
 News
-
 Recipes for balms and conditioners
-
 Bath Bomb Recipes
-
 Cream recipes. Cream making.
-
 Lotion recipes. Gel recipes.
-
 Mask recipes
-
 Soap recipes. Base soap. Soap from scratch.
-
 Recipes for all occasions
-
 Natural shampoo recipes
-
 Healthy Nutrition Recipes
-
 Scrub recipes. Massage tiles. Ubtan
-
 DIY candles
-
 Reference materials, questions, tips
-
 Startup - soap production
-
 Hair care. Tips, recipes
-
 Facial skin care. Cleansers.
-
 Body care. Tips, recipes
-
 Photo Reviews
-
 Chocolate Handmade


Candle Making Basics A Complete Guide to Waxes, Wicks, and Scents
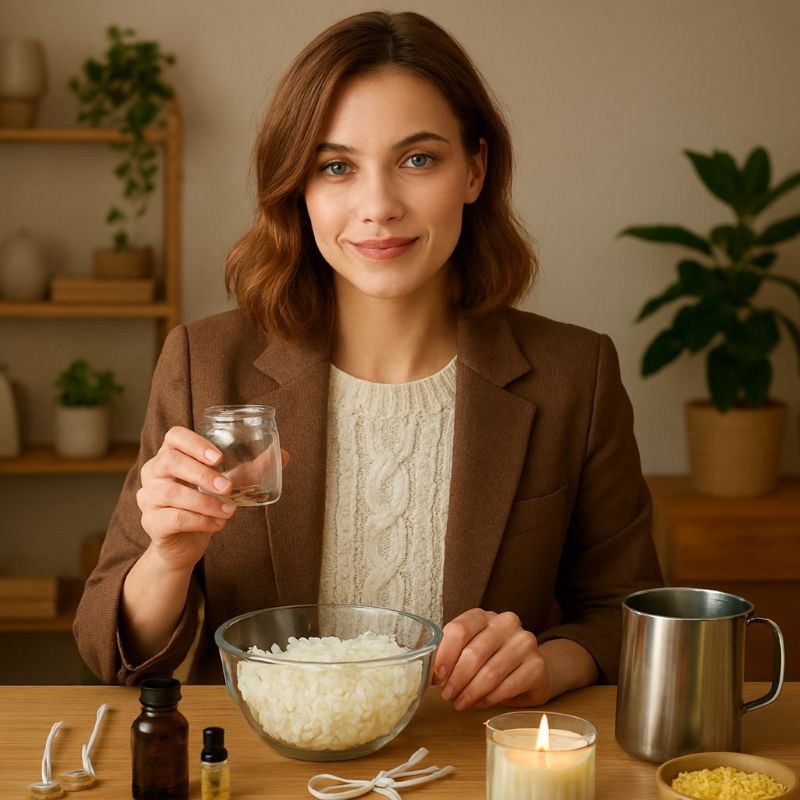 The art of candle making has evolved from a simple necessity for light into a sophisticated form of aromatherapy and interior design. Creating handmade candles allows you to control every element of the process ensuring that the air you breathe in your home is free from toxic chemicals. Unlike industrial candles which often rely on paraffin wax and synthetic binders natural handmade candles offer a cleaner burn a longer lifespan and a superior scent throw.
This comprehensive guide covers the essential components of candle making including the selection of waxes the technical science of wicks and the art of fragrance blending. By mastering these basics you can produce professional quality candles that provide a therapeutic atmosphere while outperforming mass produced alternatives in both safety and aesthetics.
Understanding Candle Waxes and Their Properties
The wax is the fuel source for your candle and its chemical composition determines how cleanly and slowly the candle will burn.
Soy wax is the most popular choice for container candles. Derived from soybean oil it is a renewable biodegradable resource. It burns at a lower temperature than paraffin which means your candle will last significantly longer. Soy wax also has an excellent ability to hold fragrance oils and release them slowly. However it requires careful temperature management during the cooling phase to prevent surface irregularities like frosting.
Coconut wax is considered a luxury material in the candle world. It is often blended with soy wax to provide a smoother finish and an even more intense fragrance throw. It has a creamy white appearance and is very soft making it ideal for high end container candles.
Beeswax is a natural byproduct of honey production and is one of the oldest candle materials. It has a high melting point and produces a bright warm light. Beeswax naturally purifies the air by releasing negative ions that neutralize pollutants. While it has a beautiful natural honey scent it can be challenging to scent with delicate floral fragrances because its own aroma is quite strong.
The Technical Role of Wicks in Candle Burning
The wick acts as a delivery system drawing liquid wax upward to the flame. Choosing the right size and material is crucial for a safe and efficient burn.
Cotton wicks are the industry standard often braided with paper or hemp fibers to improve stability. They provide a consistent flame and are easy to trim. It is essential to use lead free cotton wicks to avoid releasing heavy metals into your home.
Wooden wicks have gained popularity for their unique aesthetic and the soothing crackling sound they produce which mimics a tiny fireplace. They provide a wide flat flame that helps heat the wax pool quickly. This rapid heating allows the fragrance to distribute through the room faster than traditional cotton wicks.
The thickness of the wick must match the diameter of the candle container. A wick that is too thin will cause tunneling where only the center of the wax melts. A wick that is too thick will produce a large flickering flame that creates soot and causes the wax to disappear too quickly.
Fragrance Loading and Scent Throw Science
The appeal of a handmade candle often lies in its scent. Achieving a professional aroma requires understanding the difference between cold throw and hot throw. Cold throw is the scent of the candle when it is not lit while hot throw is the aroma released during burning.
Fragrance oils specifically formulated for candles are the best choice because they are designed to remain stable at high temperatures. Essential oils can also be used but many have low flash points meaning the scent may dissipate or change when exposed to the flame.
The standard fragrance load for natural waxes is between seven and ten percent. This means for every one hundred grams of wax you would add seven to ten grams of fragrance. Adding too much oil can destabilize the wax structure and cause the candle to sweat or become a fire hazard.
Recipe 1 The Classic Aromatic Soy Container Candle
This recipe is perfect for beginners and produces a reliable clean burning candle with a strong scent throw.
Ingredients 200 grams of soy wax 20 grams of candle grade fragrance oil one medium cotton wick one glass jar.
Step one Gently melt the soy wax in a double boiler until it is completely liquid and clear ensuring it does not exceed eighty degrees Celsius. Step two Prepare your container by centering the wick and securing it to the bottom with a wick sticker or a drop of melted wax. Step three Monitor the temperature of the wax and add the fragrance oil when the wax reaches seventy degrees Celsius. Step four Stir the mixture slowly but thoroughly for at least two minutes to ensure the fragrance molecules fully bond with the wax. Step five Pour the wax into the jar when it cools to approximately fifty five degrees Celsius to promote a smooth surface and prevent pulling away from the glass. Step six Allow the candle to cure at room temperature for at least forty eight hours before lighting to let the scent throw develop.
Recipe 2 Premium Coconut and Wood Wick Luxury Candle
This recipe creates a high end experience with a sophisticated crackling sound and intense aroma.
Ingredients 150 grams of coconut wax blend 15 grams of sandalwood fragrance oil one wooden wick with metal base one ceramic vessel.
Step one Melt the coconut wax blend on low heat as it melts faster than other waxes. Step two Insert the wooden wick into its metal base and place it in the center of the ceramic vessel. Step three Add the sandalwood fragrance oil to the wax at sixty five degrees Celsius. Step four Stir gently to avoid creating air bubbles in the creamy coconut wax. Step five Pour the wax into the vessel and ensure the wooden wick remains upright as the wax sets. Step six Let this candle cure for three to five days as coconut wax requires a longer stabilization period for the best fragrance performance.
Recipe 3 Therapeutic Beeswax and Honey Pillar Candle
A sturdy natural candle that purifies the air and provides a long lasting golden light.
Ingredients 300 grams of pure beeswax 5 grams of honey or vanilla fragrance oil optional one thick square braid cotton wick one silicone pillar mold.
Step one Melt the beeswax in a dedicated pot because beeswax is difficult to clean once it hardens. Step two Prepare the silicone mold by threading the wick through the center and securing it tightly. Step three If using fragrance add it at eighty degrees Celsius because beeswax is denser and requires more heat for the oil to incorporate. Step four Pour the wax into the mold in one continuous motion to avoid visible lines on the side of the pillar. Step five As the wax cools it will shrink slightly so you may need to save a small amount of wax for a second pour to level the base. Step six Allow the pillar to cool completely for twenty four hours before removing it from the mold.
Recommendations for Safe Use and Storage
Proper candle care ensures a better experience and increases the lifespan of your handmade products.
The First Burn Rule The first time you light your candle let it burn until the liquid wax pool reaches all the way to the edges of the container. This prevents memory tunneling and ensures an even burn for the rest of the candle life. This usually takes between one and three hours.
Wick Trimming Always trim your wick to about five millimeters before every light. This keeps the flame at a safe height and prevents black soot from forming on the edges of your container. For wooden wicks remove the charred top layer before relighting.
Extinguishing Tips Instead of blowing out a candle which creates smoke use a candle snuffer or dip the wick into the liquid wax pool and straighten it back up. This eliminates the smell of smoke and keeps the wick primed for the next use.
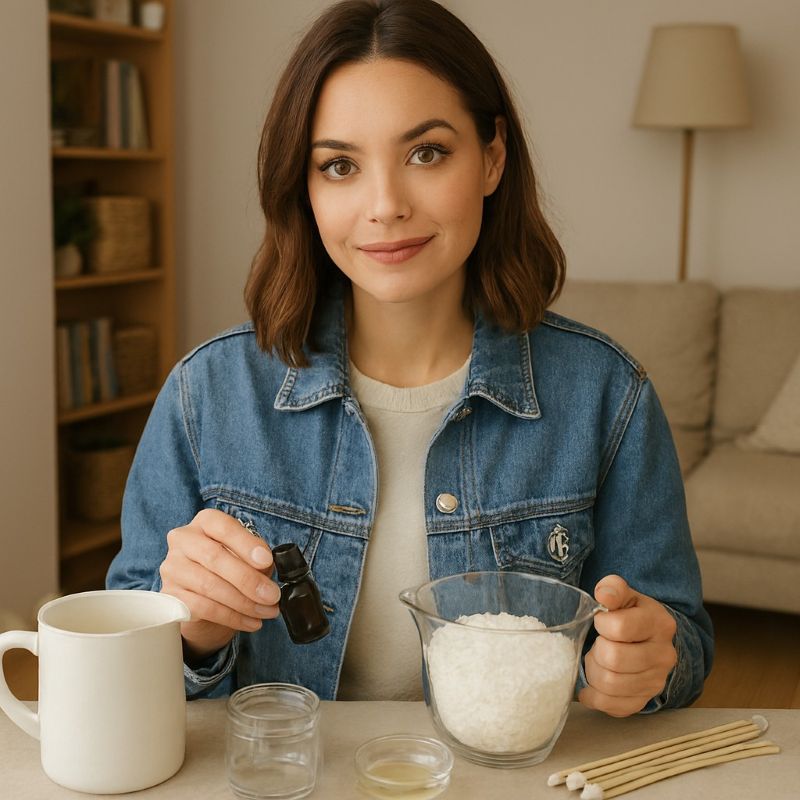
Storage Conditions Store your candles in a cool dry and dark place. Natural waxes are sensitive to temperature and UV light. High heat can cause the wax to soften or the fragrance to seep out while sunlight can yellow the wax and fade the scent. Keeping the lid on your candles when not in use helps preserve the fragrance.
Advantages Over Industrial Analogues
Switching to handmade natural candles offers significant benefits that mass market products cannot match.
The primary advantage is the elimination of paraffin. Most industrial candles are made from paraffin a petroleum byproduct that can release chemicals like benzene and toluene when burned. Natural waxes are non toxic and safe for long term indoor use.
Handmade candles provide true value through longer burn times. Because plant based waxes burn at a lower temperature they can last twice as long as a paraffin candle of the same size. This makes handmade candles more economical in the long run.
The quality of fragrance is also vastly superior. Artisanal candles use high quality fragrance oils and essential oils without phthalates or binders that often cause headaches in sensitive individuals. You receive a cleaner more authentic scent that fills the room without being overwhelming or chemical.
By choosing or making your own candles you support sustainable agriculture and reduce your environmental impact while enjoying a product that is specifically tailored to your preferences for scent and style.


Cosmetic ingredients and professional formulation blog
This section features expert materials on modern cosmetic actives. We cover peptides, polynucleotides PDRN, different forms of hyaluronic acid, retinoids, ceramides and other key components.
Special focus is given to active stability, ingredient compatibility and correct incorporation into formulas. You will find practical guides on working with anti-age actives, moisturizing complexes and barrier repair ingredients.
We examine how to properly combine myorelaxants with peptides, common mistakes when using unstable vitamin C forms and ways to improve the performance of moisturizing actives.
Separate materials are dedicated to base oils, extracts, emulsifiers and supporting ingredients. This helps create stable and effective formulas for both professional and home cosmetics.
The blog regularly publishes reviews of trending actives, comparisons of similar ingredients and step-by-step formulation recommendations. The content is aimed at formulators, technologists and anyone seriously involved in creating cosmetic products.
Why this blog is useful
Here you will find practical data on eye area care actives, lifting systems and ingredients that improve skin firmness and tone. We rely on real formulation experience and address the actual challenges that arise during product development.
You can also explore materials on skin protection and repair, depigmentation and anti-inflammatory actives. This approach supports a more systematic selection of ingredients.
FAQ
What topics are covered most often
The blog focuses on peptides, PDRN, hyaluronic acid of different molecular weights, retinoids, ceramides and their compatibility rules.
Are there practical recommendations on how to incorporate actives
Yes, most articles include practical notes on pH stability, incorporation temperature and common formulation mistakes.
Is the content only for professionals
The materials are useful both for formulators and technologists and for those who create cosmetics for personal use and want to understand how modern ingredients work.
Where can I go directly to the ingredients
All key actives are collected in the Actives section, while base components are available in base oils and related categories.



