-
 DIY: Video master classes
-
 Aromatherapy
-
 Felting master classes
-
 Eating at home
-
 DIY cosmetics for children
-
 Cooking recipes
-
 Detergents, cleaning products with your own hands
-
 Soap making as a business
-
 Natural cosmetics. Raw materials for cosmetics and soap.
-
 Natural oils in cosmetics
-
 News
-
 Recipes for balms and conditioners
-
 Bath Bomb Recipes
-
 Cream recipes. Cream making.
-
 Lotion recipes. Gel recipes.
-
 Mask recipes
-
 Soap recipes. Base soap. Soap from scratch.
-
 Recipes for all occasions
-
 Natural shampoo recipes
-
 Healthy Nutrition Recipes
-
 Scrub recipes. Massage tiles. Ubtan
-
 DIY candles
-
 Reference materials, questions, tips
-
 Startup - soap production
-
 Hair care. Tips, recipes
-
 Facial skin care. Cleansers.
-
 Body care. Tips, recipes
-
 Photo Reviews
-
 Chocolate Handmade


Beginner's mistakes in soap making and how to avoid them
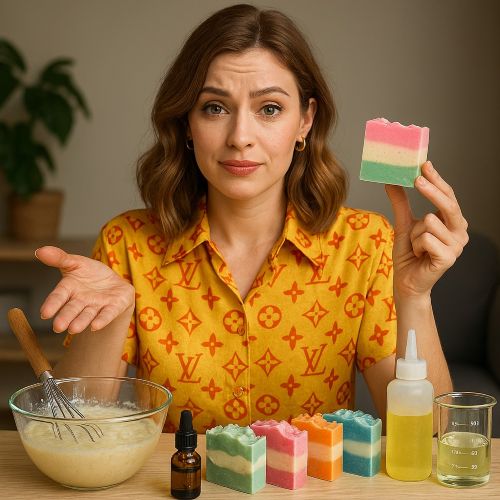 Embarking on your soap making journey can be an incredibly rewarding experience, offering the chance to create personalized, natural products. However, the process, especially when working with the cold or hot process from scratch, involves a bit of chemistry and requires precision. Newcomers often encounter common pitfalls that can lead to soap that's too soft, crumbly, or irritating. This article will break down the most frequent beginner mistakes in soap making and provide practical solutions to help you avoid them. We'll cover everything from safety to ingredient measurement and offer three simple recipes that you can use to apply these principles and create a perfect, professional-quality soap.
The Most Common Mistakes and How to Fix Them
Understanding the "why" behind an error is the first step to becoming a skilled soaper. Here are the most common blunders and how you can prevent them.
Mistake 1: Incorrect Ingredient Measurement
This is arguably the most critical mistake. Soap making is a precise science, not a casual art. A difference of just a few grams of lye or oil can ruin an entire batch. Too much lye results in a harsh, skin-irritating soap, while too little results in a soft, greasy soap that doesn't cure properly.
-
Solution: Always use a digital scale. Do not use measuring cups or spoons. Weigh all your ingredients, including lye, water, and oils, to the nearest gram or even tenth of a gram for best results. Double-check your measurements before mixing.
Mistake 2: Incorrect Temperature Control
Lye and oils must be at a specific temperature range to create a stable emulsion and saponify properly. If the temperatures are too high, the lye can scorch the oils. If they're too low, the mixture won't emulsify, and you'll get a soupy, separated mess.
-
Solution: Use an instant-read thermometer. Aim for both the lye solution and the oil mixture to be within the range of 40-50°C (104-122°F) before you combine them. This ensures a smooth, even saponification process.
Mistake 3: Insufficient Mixing and Reaching "Trace"
"Trace" is the point in the soap-making process where the lye and oils have fully emulsified and the mixture has thickened to a pudding-like consistency. Many beginners stop mixing too early, leading to a separated soap with un-saponified lye and oil.
-
Solution: Mix until you achieve a solid trace. Use a stick blender for best results. Blend in short bursts, stirring in between, and continue until you can drizzle a small amount of the mixture on the surface and it leaves a visible mark or "trace" for a few seconds before disappearing.
Mistake 4: Not Curing the Soap Properly
Curing is the process where soap hardens and excess water evaporates. It takes several weeks, and skipping it is a common mistake that results in soft, mushy soap that dissolves quickly.
-
Solution: Cure your soap for 4-6 weeks. After molding, let the soap sit for 24-48 hours before unmolding and cutting. Then, place the bars on a wire rack in a well-ventilated, cool, and dry area for at least four weeks. This allows the soap to harden and become mild.
Three Recipes for Perfect First-Time Soap Batches
These simple recipes are perfect for beginners. They use reliable ingredients that are forgiving and easy to work with.
Recipe 1: Basic Olive Oil & Coconut Oil Soap (Cold Process)
This is a classic, gentle recipe that is perfect for all skin types.
-
Prepare your lye solution. Put on your safety gear. In a well-ventilated area, weigh 100g of distilled water and 45g of lye (Sodium Hydroxide) in separate, lye-safe containers. Slowly and carefully pour the lye into the water, stirring until it is fully dissolved. Let it cool.
-
Melt and prepare oils. Weigh 300g of olive oil and 100g of coconut oil. Gently melt the coconut oil. Combine the olive oil and melted coconut oil and let the mixture cool.
-
Combine and mix. When both the lye solution and the oil mixture have cooled to around 45°C (113°F), slowly pour the lye into the oils. Using a stick blender, mix in short bursts until a solid trace is achieved.
-
Pour and cure. Pour the mixture into a silicone mold. Cover it with a towel and let it sit for 24-48 hours. Unmold, cut into bars, and place them on a rack to cure for at least four weeks.
Recommendations for Use: This soap is gentle and moisturizing. It's great for daily use on the hands and body.
Storage: Store finished soap in a cool, dry place.
Recipe 2: Shea Butter & Castor Oil Soap (Hot Process)
The hot process is faster and produces a ready-to-use soap in a few hours.
-
Prepare your lye solution. Following all safety protocols, weigh 100g of distilled water and 45g of lye. Slowly pour the lye into the water and let it cool slightly.
-
Prepare oils and combine. Weigh 200g of coconut oil, 150g of shea butter, and 50g of castor oil. Gently melt the oils in a slow cooker or pot.
-
Combine and cook. When both the lye solution and the oils are around 45°C, slowly pour the lye into the oils. Blend with a stick blender until it reaches a solid trace. Cover and "cook" the soap on low heat, stirring occasionally, until it reaches a jelly-like consistency.
-
Add fragrance and mold. When the soap is fully cooked, add any essential oils or additives and stir well. Quickly scoop the soap into your molds as it hardens fast. Let it cool for a few hours.
Recommendations for Use: This soap is great for deep cleansing and has a rich, conditioning lather. It's safe to use almost immediately after it cools.
Storage: Store finished soap in a cool, dry place.
Recipe 3: All-Natural Calendula Infused Soap
This recipe adds the soothing properties of calendula to a basic, gentle soap.
-
Infuse your oil. Place 300g of olive oil and dried calendula petals in a heat-safe container. Heat gently in a slow cooker for a few hours to infuse the oil with the calendula's properties. Strain the oil to remove the petals.
-
Prepare lye and other oils. Weigh 100g of distilled water and 45g of lye. Prepare the solution carefully. Weigh 100g of coconut oil and 50g of shea butter.
-
Combine all ingredients. When the lye solution and the oils have cooled to around 45°C, combine them. Blend with a stick blender until a solid trace is achieved.
-
Add fragrance and pour. Add 5-10 drops of a gentle essential oil like lavender (optional). Pour the soap into a mold. Let it sit for 24-48 hours.
-
Cut and cure. Unmold, cut, and let the soap cure for 4-6 weeks.
Recommendations for Use: This soap is very gentle and great for sensitive skin. The calendula provides a soothing effect.
Storage: Store in a cool, dry place. The shelf life is up to one year.
Advantages of Homemade Soap over Industrial Products
Mastering the art of soap making provides significant advantages beyond just avoiding mistakes.
-
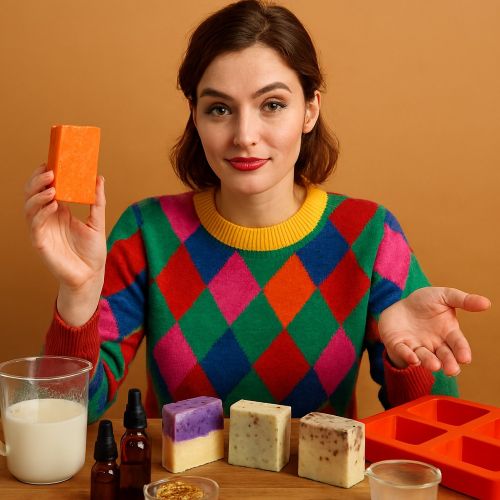 Ingredient Control: You choose every ingredient. You can avoid harsh detergents (like SLS), synthetic fragrances, and artificial dyes common in commercial soaps.
-
Skin Benefits: Homemade soap, especially cold process soap, retains the natural glycerin produced during saponification, which is a powerful humectant that draws moisture to the skin. Industrial brands often remove glycerin to sell it as a separate product.
-
Customization: You can tailor your soap to your specific needs. Want a soap for dry skin? Use more nourishing oils. Have an oily skin? Use a higher percentage of coconut oil. You have the freedom to experiment.
-
Cost-Effectiveness: While the initial investment in equipment can be high, the cost per bar of a high-quality, homemade soap is significantly lower than a store-bought, handcrafted bar.
-
Reduced Environmental Impact: Making your own soap allows you to use biodegradable ingredients and reusable molds, reducing your reliance on mass-produced plastics and chemical-filled products.
By understanding the key steps and avoiding these common mistakes, you can create a beautiful, nourishing, and personal product that is superior to anything you can buy in a store.


Cosmetic ingredients and professional formulation blog
This section features expert materials on modern cosmetic actives. We cover peptides, polynucleotides PDRN, different forms of hyaluronic acid, retinoids, ceramides and other key components.
Special focus is given to active stability, ingredient compatibility and correct incorporation into formulas. You will find practical guides on working with anti-age actives, moisturizing complexes and barrier repair ingredients.
We examine how to properly combine myorelaxants with peptides, common mistakes when using unstable vitamin C forms and ways to improve the performance of moisturizing actives.
Separate materials are dedicated to base oils, extracts, emulsifiers and supporting ingredients. This helps create stable and effective formulas for both professional and home cosmetics.
The blog regularly publishes reviews of trending actives, comparisons of similar ingredients and step-by-step formulation recommendations. The content is aimed at formulators, technologists and anyone seriously involved in creating cosmetic products.
Why this blog is useful
Here you will find practical data on eye area care actives, lifting systems and ingredients that improve skin firmness and tone. We rely on real formulation experience and address the actual challenges that arise during product development.
You can also explore materials on skin protection and repair, depigmentation and anti-inflammatory actives. This approach supports a more systematic selection of ingredients.
FAQ
What topics are covered most often
The blog focuses on peptides, PDRN, hyaluronic acid of different molecular weights, retinoids, ceramides and their compatibility rules.
Are there practical recommendations on how to incorporate actives
Yes, most articles include practical notes on pH stability, incorporation temperature and common formulation mistakes.
Is the content only for professionals
The materials are useful both for formulators and technologists and for those who create cosmetics for personal use and want to understand how modern ingredients work.
Where can I go directly to the ingredients
All key actives are collected in the Actives section, while base components are available in base oils and related categories.