-
 DIY: Video master classes
-
 Aromatherapy
-
 Felting master classes
-
 Eating at home
-
 DIY cosmetics for children
-
 Cooking recipes
-
 Detergents, cleaning products with your own hands
-
 Soap making as a business
-
 Natural cosmetics. Raw materials for cosmetics and soap.
-
 Natural oils in cosmetics
-
 News
-
 Recipes for balms and conditioners
-
 Bath Bomb Recipes
-
 Cream recipes. Cream making.
-
 Lotion recipes. Gel recipes.
-
 Mask recipes
-
 Soap recipes. Base soap. Soap from scratch.
-
 Recipes for all occasions
-
 Natural shampoo recipes
-
 Healthy Nutrition Recipes
-
 Scrub recipes. Massage tiles. Ubtan
-
 DIY candles
-
 Reference materials, questions, tips
-
 Startup - soap production
-
 Hair care. Tips, recipes
-
 Facial skin care. Cleansers.
-
 Body care. Tips, recipes
-
 Photo Reviews
-
 Chocolate Handmade
Universal Moisturizer with Vitamin E: Step-by-Step Recipe and Benefits
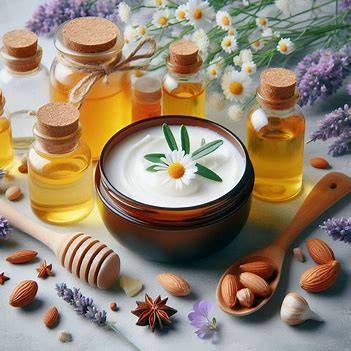 Vitamin E, a powerful antioxidant, is a skincare staple renowned for its ability to hydrate, protect, and rejuvenate the skin. Incorporating it into a homemade moisturizing cream offers a natural and cost-effective way to nourish your skin. This versatile cream can be adapted to suit various skin types by adjusting the base oils and additional ingredients.
Understanding the Benefits of Vitamin E
Before diving into the recipes, let's explore the benefits of vitamin E for your skin:
- Hydration: Vitamin E helps retain skin moisture, preventing dryness and flakiness.
- Antioxidant protection: It shields the skin from harmful free radicals, reducing signs of aging.
- Skin repair: Vitamin E supports skin regeneration and healing.
- Reduces inflammation: It can soothe irritated and inflamed skin.
Basic Moisturizing Cream Recipe
Ingredients:
- 1/4 cup shea butter
- 1/4 cup coconut oil
- 1/4 cup sweet almond oil
- 1 tablespoon beeswax
- 1/2 teaspoon vitamin E oil
- Essential oil of your choice (optional)
Equipment:
- Double boiler or heat-safe bowl
- Small glass jar
Instructions:
- Melt the base: In a double boiler or heat-safe bowl, gently melt the shea butter, coconut oil, and beeswax together.
- Cool and blend: Remove the mixture from heat and let it cool slightly. Stir in the vitamin E oil and essential oil (if using).
- Pour and store: Transfer the cream to a clean glass jar. Allow it to cool completely before sealing.
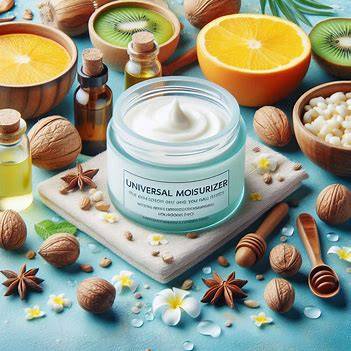 Tips:
- For thicker cream, increase the shea butter and beeswax proportions.
- For lighter cream, increase the oil content.
- Experiment with different essential oils to suit your preferences.
Adapting the Recipe for Different Skin Types
- Dry skin: Add more shea butter and coconut oil for extra hydration. Consider incorporating ingredients like jojoba oil or argan oil.
- Oily skin: Use lighter oils like jojoba or grapeseed oil. Add a few drops of tea tree oil for its antibacterial properties.
- Sensitive skin: Opt for hypoallergenic oils like avocado oil or rosehip oil. Avoid essential oils and opt for fragrance-free vitamin E.
Additional Ingredients to Consider
- Hyaluronic acid: Known for its exceptional hydrating properties.
- Aloe vera gel: Soothes and refreshes the skin.
- Rosewater: Tones and hydrates.
- Niacinamide: Brightens and evens skin tone.
Storage and Usage
Store your homemade cream in a cool, dark place. Use it daily, morning and night, to keep your skin soft, supple, and protected.
Remember: Always do a patch test before applying a new skincare product to check for allergies.