-
 DIY: Video master classes
-
 Aromatherapy
-
 Felting master classes
-
 Eating at home
-
 DIY cosmetics for children
-
 Cooking recipes
-
 Detergents, cleaning products with your own hands
-
 Soap making as a business
-
 Natural cosmetics. Raw materials for cosmetics and soap.
-
 Natural oils in cosmetics
-
 News
-
 Recipes for balms and conditioners
-
 Bath Bomb Recipes
-
 Cream recipes. Cream making.
-
 Lotion recipes. Gel recipes.
-
 Mask recipes
-
 Soap recipes. Base soap. Soap from scratch.
-
 Recipes for all occasions
-
 Natural shampoo recipes
-
 Healthy Nutrition Recipes
-
 Scrub recipes. Massage tiles. Ubtan
-
 DIY candles
-
 Reference materials, questions, tips
-
 Startup - soap production
-
 Hair care. Tips, recipes
-
 Facial skin care. Cleansers.
-
 Body care. Tips, recipes
-
 Photo Reviews
-
 Chocolate Handmade
Enzyme Facial Foam: Deep Cleansing and Skin Care
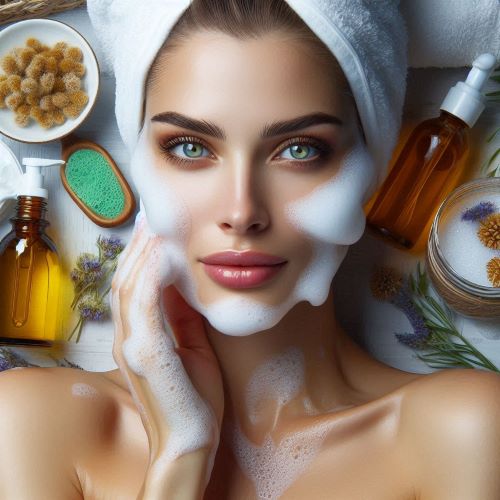 Enzyme facial foams are a rising star in the world of natural skincare, offering a gentle yet effective way to deeply cleanse and revitalize the complexion. Unlike traditional cleansers that rely primarily on surfactants, enzyme foams utilize the power of natural enzymes to break down dead skin cells, excess oil, and impurities, leaving skin feeling refreshed, radiant, and deeply cleansed.
The Science Behind Enzyme Facial Foams
The magic lies in the enzymes. These biological catalysts gently exfoliate the skin by breaking down the bonds between dead skin cells. Popular enzymes used in facial foams include:
- Papain: Derived from papaya, papain is a gentle exfoliant that helps to smooth skin texture and improve cell turnover.
- Bromelain: Extracted from pineapple, bromelain possesses both exfoliating and anti-inflammatory properties, making it suitable for sensitive skin.
- Protease: This enzyme helps to break down proteins, effectively removing dead skin cells and other impurities.
Advantages of Homemade Enzyme Facial Foams
- Customization: You have complete control over the ingredients, ensuring that the foam is free from harsh chemicals, artificial fragrances, and parabens.
- Freshness: Homemade foams are always fresh and potent, as there are no preservatives.
- Cost-effectiveness: Making your own enzyme facial foam can be significantly more cost-effective than purchasing expensive commercial products.
- Reduced waste: By making your own products, you minimize packaging waste and contribute to a more sustainable lifestyle.
Recipes for Homemade Enzyme Facial Foams
1. Papaya Enzyme Facial Foam
- Ingredients:
- 1/4 cup mashed ripe papaya
- 1/4 cup aloe vera gel
- 1 tablespoon honey
- 1 teaspoon rice flour (optional, for added exfoliation)
- 1/4 teaspoon tea tree oil (optional, for acne-prone skin)
- Instructions:
- In a clean bowl, combine mashed papaya, aloe vera gel, and honey.
- If desired, add rice flour and tea tree oil.
- Mix well until all ingredients are thoroughly combined.
- Apply a small amount to damp skin, gently massage in circular motions for 1-2 minutes.
- Rinse thoroughly with lukewarm water.
2. Pineapple and Yogurt Enzyme Facial Foam
- Ingredients:
- 2 tablespoons mashed pineapple
- 1 tablespoon plain yogurt
- 1 teaspoon honey
- 1/2 teaspoon lemon juice (optional, for brightening)
- Instructions:
- Combine mashed pineapple, yogurt, and honey in a bowl.
- If desired, add lemon juice.
- Mix well until all ingredients are thoroughly combined.
- Apply a small amount to damp skin, gently massage in circular motions for 1-2 minutes.
- Rinse thoroughly with lukewarm water.
3. Rice Flour and Protease Enzyme Powder
- Ingredients:
- 1/4 cup rice flour
- 1 teaspoon powdered protease enzyme
- 1/4 teaspoon chamomile powder (optional, for calming)
- Instructions:
- In a clean bowl, combine rice flour, powdered protease enzyme, and chamomile powder (if using).
- Mix well until all ingredients are thoroughly combined.
- To use: Mix 1/2 teaspoon of the powder with a small amount of water to form a paste.
- Apply to damp skin, gently massage in circular motions for 1-2 minutes.
- Rinse thoroughly with lukewarm water.
Recommendations for Use and Storage
- Frequency: Use enzyme facial foams 1-2 times per week, depending on your skin type.
- Patch Test: Always perform a patch test on a small area of skin before applying any new homemade product to your entire face.
- Storage: Store homemade enzyme foams in an airtight container in the refrigerator for up to 3 days.
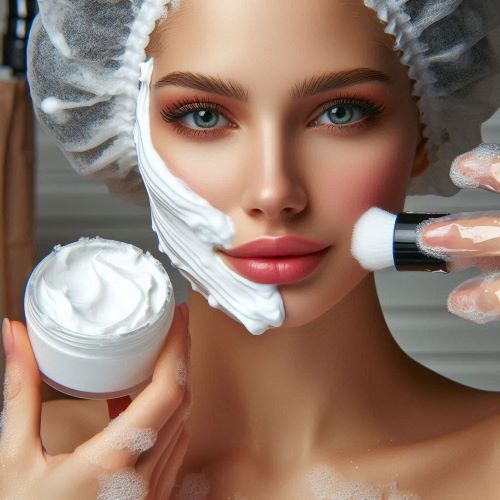 Important Notes:
- Freshness: Use homemade foams immediately after preparation for maximum effectiveness.
- Sensitivity: If you have sensitive skin, use caution and avoid over-exfoliating.
- Natural Ingredients: Always use fresh, high-quality ingredients.
By incorporating enzyme facial foams into your skincare routine, you can experience the benefits of deep cleansing, gentle exfoliation, and revitalized skin. Remember to adjust the recipes to suit your specific skin type and concerns for the best results.
Disclaimer: This information is provided for general knowledge and informational purposes only, and does not constitute medical advice. Always consult with a qualified healthcare professional before using any new skincare product, especially if you have any pre-existing skin conditions.