-
 DIY: Video master classes
-
 Aromatherapy
-
 Felting master classes
-
 Eating at home
-
 DIY cosmetics for children
-
 Cooking recipes
-
 Detergents, cleaning products with your own hands
-
 Soap making as a business
-
 Natural cosmetics. Raw materials for cosmetics and soap.
-
 Natural oils in cosmetics
-
 News
-
 Recipes for balms and conditioners
-
 Bath Bomb Recipes
-
 Cream recipes. Cream making.
-
 Lotion recipes. Gel recipes.
-
 Mask recipes
-
 Soap recipes. Base soap. Soap from scratch.
-
 Recipes for all occasions
-
 Natural shampoo recipes
-
 Healthy Nutrition Recipes
-
 Scrub recipes. Massage tiles. Ubtan
-
 DIY candles
-
 Reference materials, questions, tips
-
 Startup - soap production
-
 Hair care. Tips, recipes
-
 Facial skin care. Cleansers.
-
 Body care. Tips, recipes
-
 Photo Reviews
-
 Chocolate Handmade
Natural moisturizers for cosmetics: moisturizing cream recipe
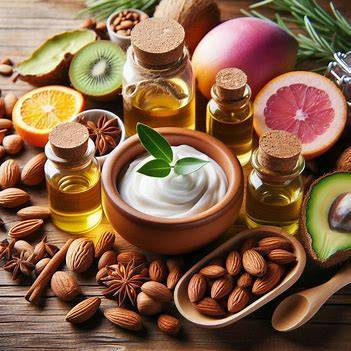 Skip the chemical-laden store-bought options and embrace the power of natural ingredients with this easy-to-make shea butter moisturizer.
Shea butter, a treasure trove of vitamins A and E, deeply nourishes the skin, while plant-based oils add a touch of luxury and specific benefits. This recipe is a fantastic base, and you can customize it to suit your skin type!
Here's what you'll need:
- ½ cup raw shea butter (grated or whipped for easier mixing)
- ¼ cup carrier oil (choose one based on your skin type: jojoba oil for normal/oily, sweet almond oil for dry/sensitive)
- 1 tablespoon vitamin E oil (acts as a natural preservative)
- 5-10 drops of your favorite essential oil (optional, for a delightful scent)
Customization Tips:
- Dry Skin: Add a teaspoon of honey for extra humectant power.
- Oily Skin: Swap half the shea butter for aloe vera gel for a lightweight, mattifying effect.
- Sensitive Skin: Opt for calming ingredients like calendula oil or chamomile essential oil.
Instructions:
- In a heat-resistant bowl, melt the shea butter using a double boiler method (place the bowl over simmering water in a larger pot). Ensure the water doesn't touch the bottom bowl.
- Once melted, remove from heat and let cool slightly.
- Add the carrier oil and vitamin E oil, whisking gently until well combined.
- If using, add your chosen essential oil and whisk again.
- Pour the mixture into a clean, airtight container. Let it cool completely at room temperature before using.
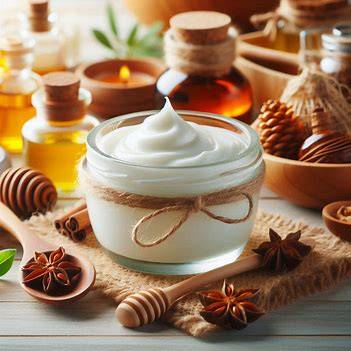 To Use:
Apply a dime-sized amount of moisturizer to your cleansed face and neck, gently massaging in until absorbed. Use twice daily for optimal results.
Remember: Patch test on your inner arm before applying to your face to check for any sensitivities. Store your homemade moisturizer in a cool, dark place and use within 3-4 months.
Embrace the Natural Difference:
This DIY moisturizer offers a luxurious feel and nourishing benefits, all while being gentle on your skin and kind to the environment. With a little experimentation, you can create a personalized moisturizer that keeps your skin healthy and glowing!